
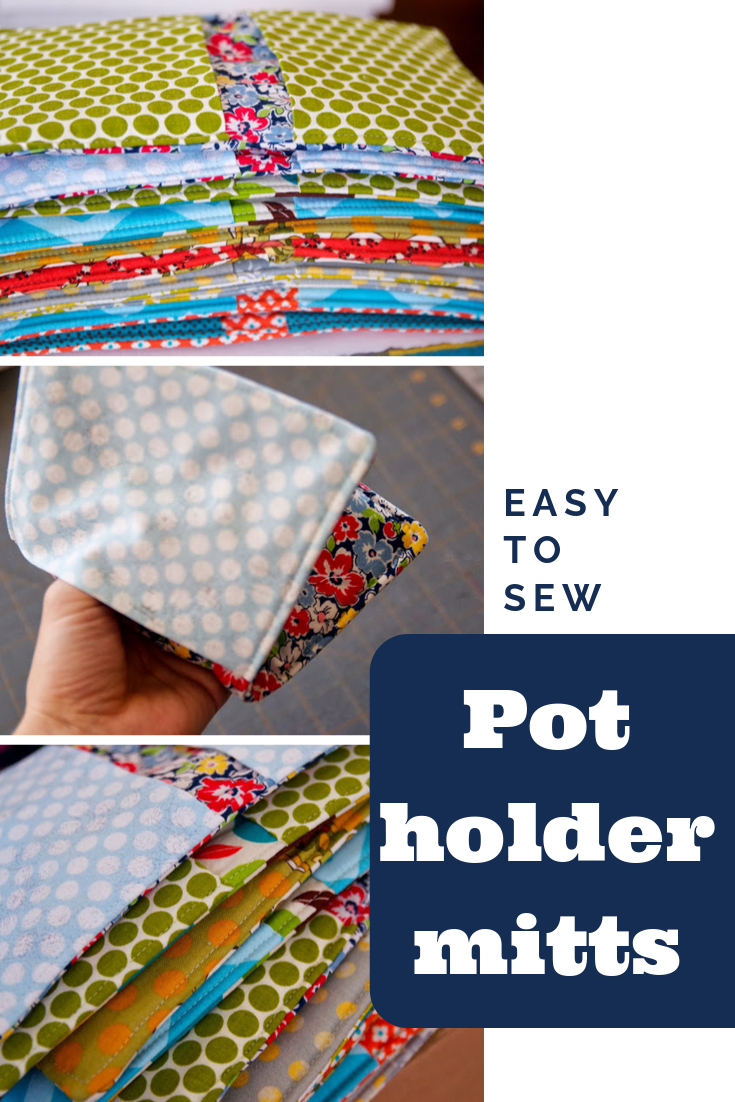
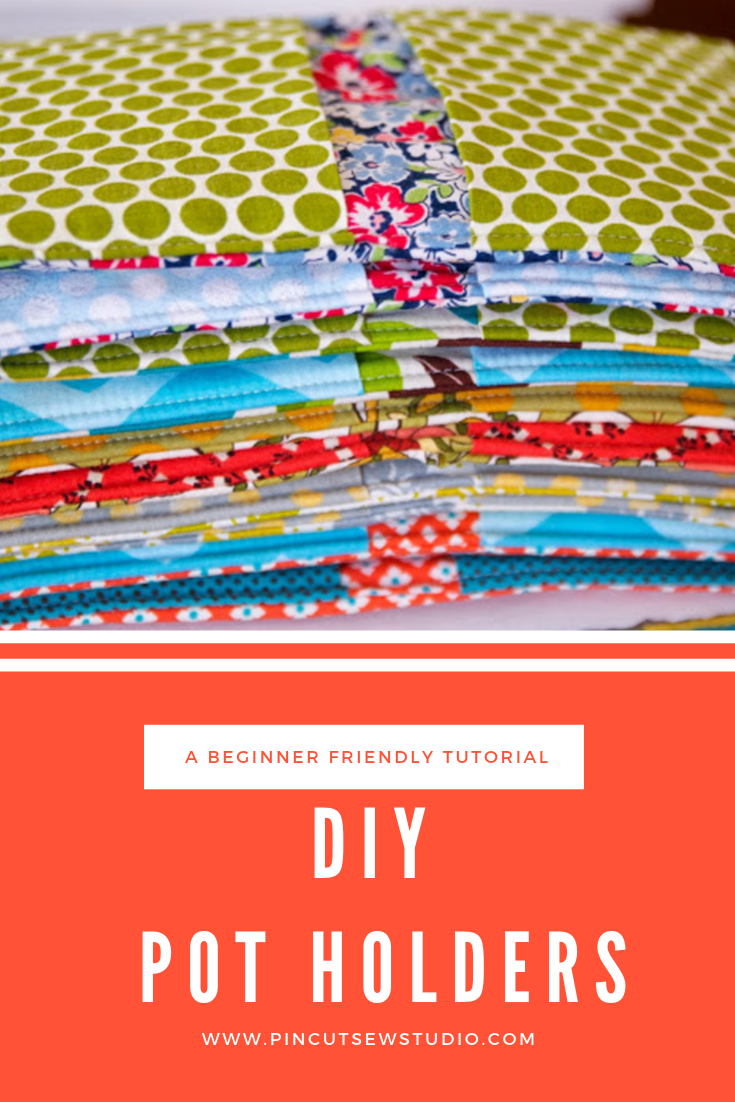
How to Sew Easy Pot Holders with Hand Pockets
I’m reviving a tutorial from my old blog for these handy, easy to sew DIY pot holder mitts. I sewed a bunch of these up for Christmas that year, so I tried to create a design that was easy to mass produce — no fussy bindings or anything like that! I think it would be fun to whip up another batch this many years later, to gift to my current local friends, which is why I went looking for my old tutorial!
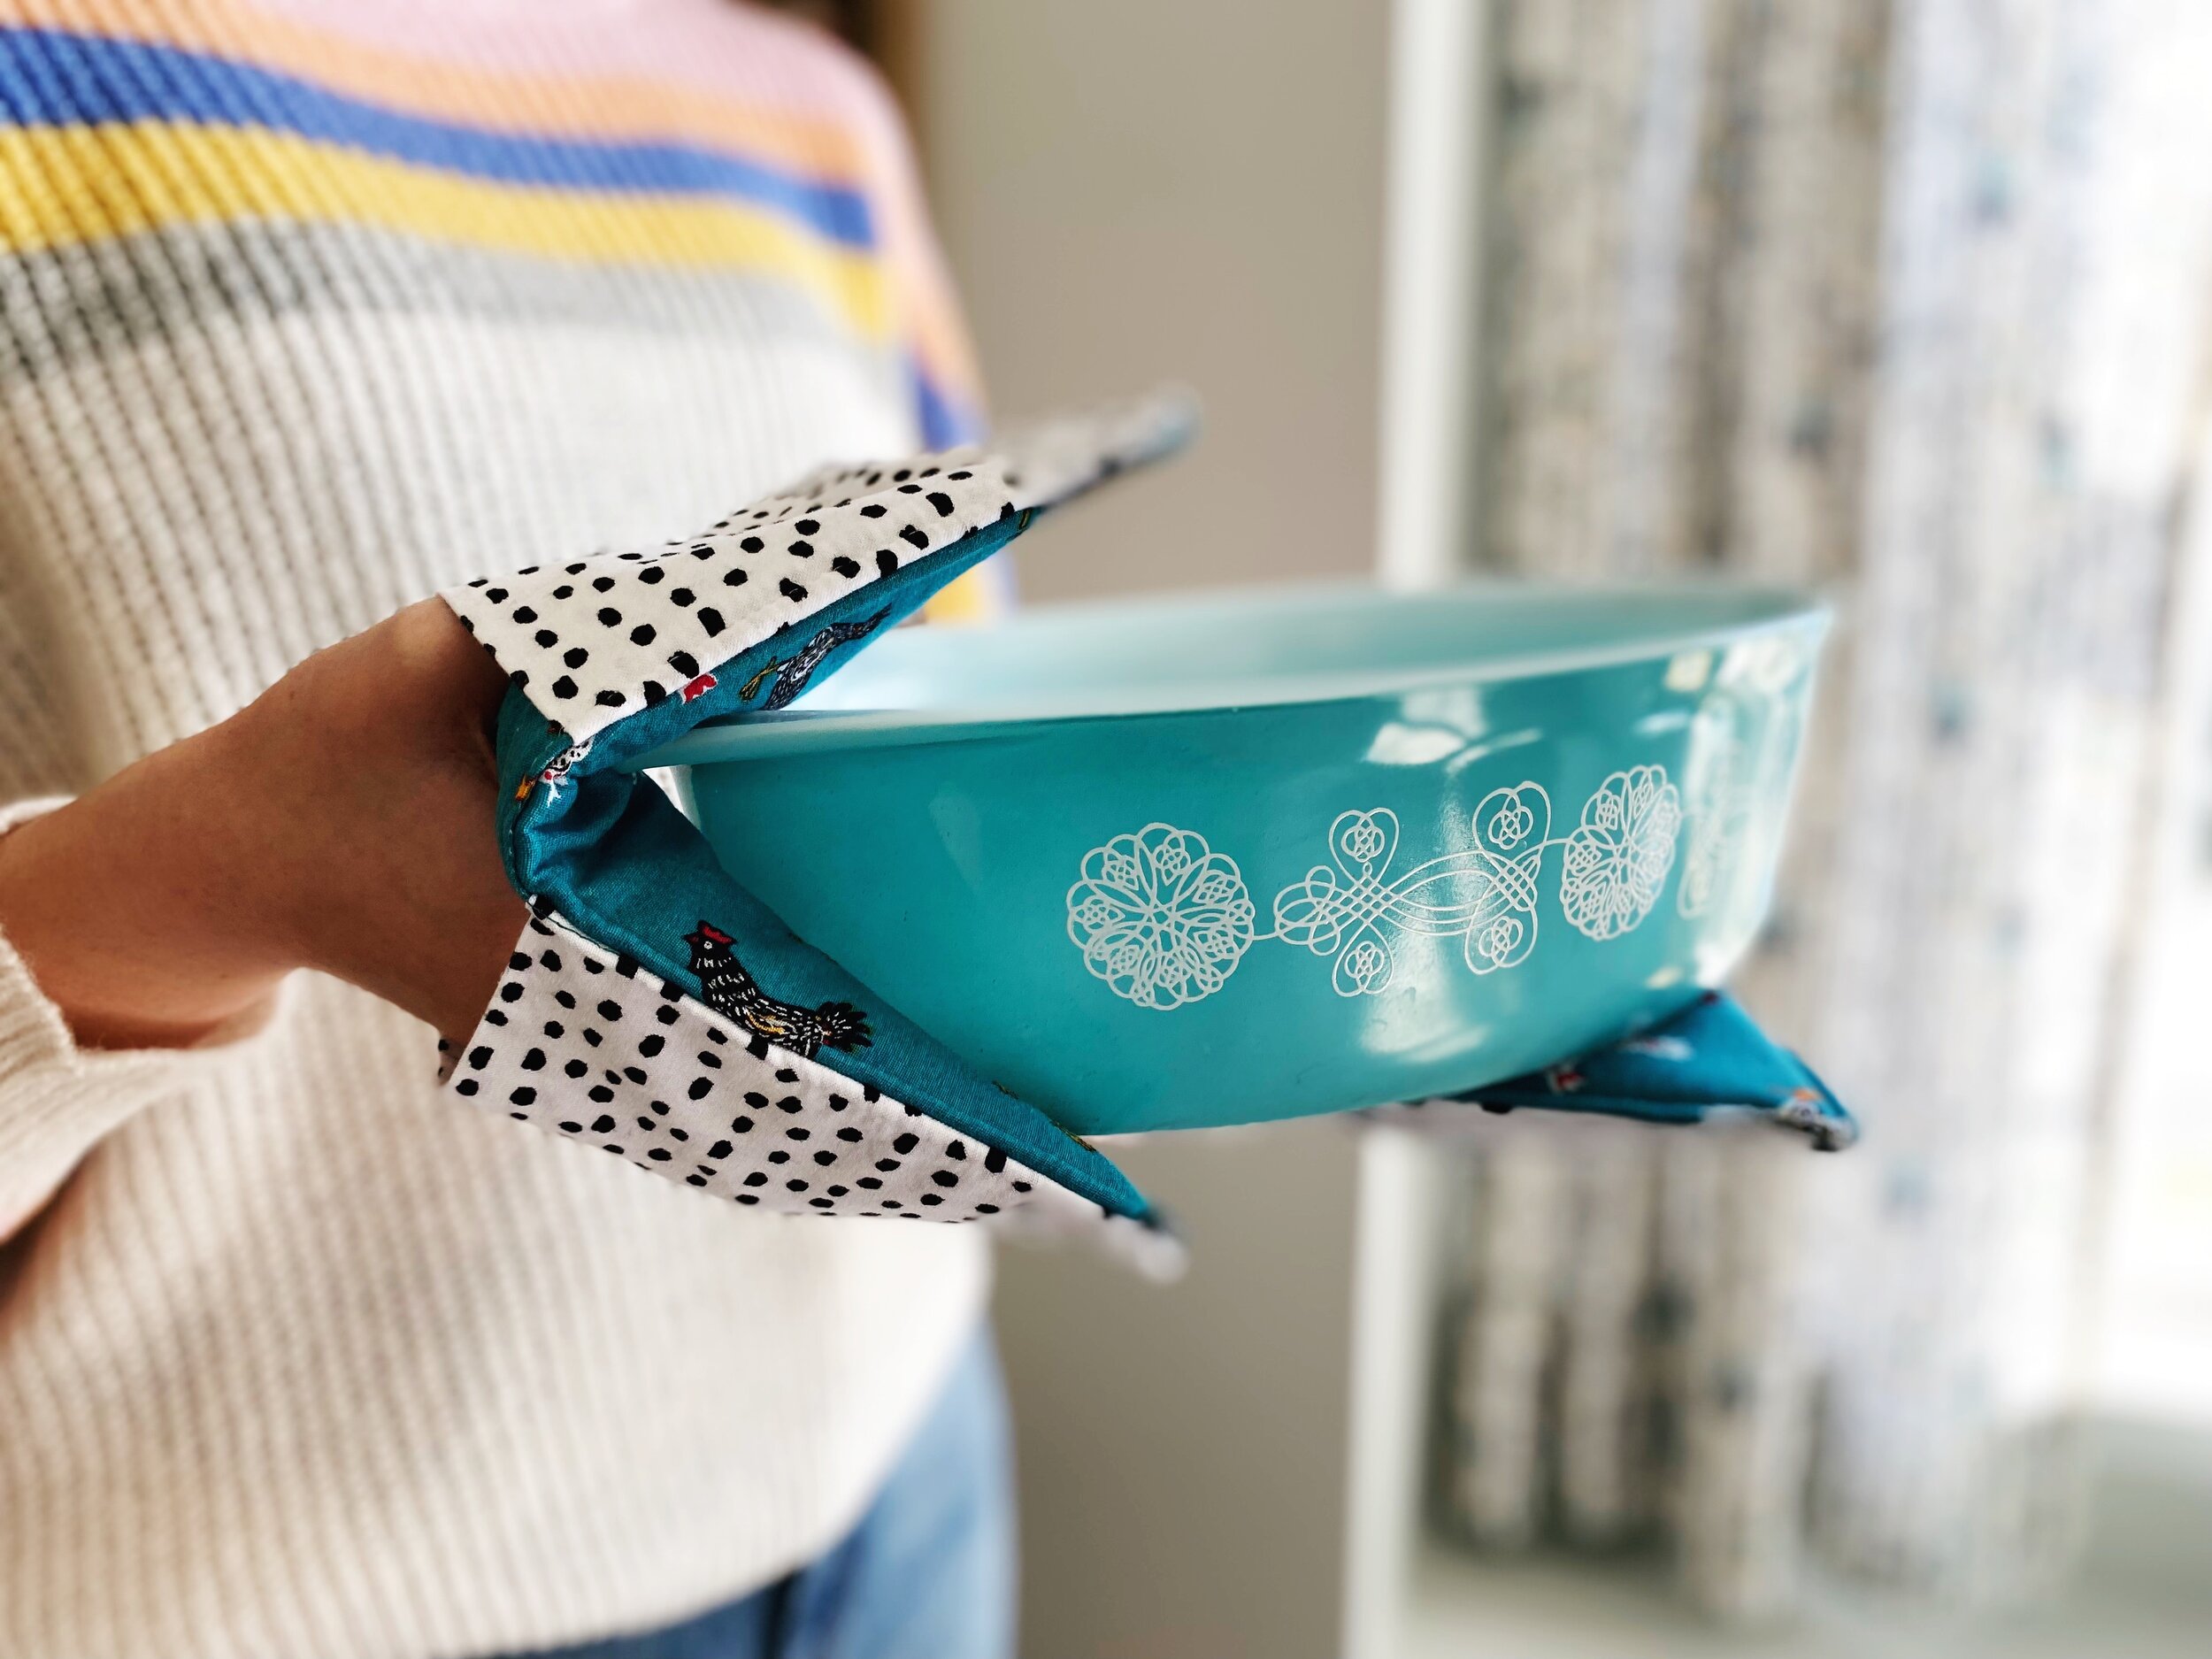
I love this style of pot holder in particular because it has pockets for your hands, so you’re not in as much danger of burning yourself as you are when using a basic square pot holder. Also, when cooking with kids, these mitts are great because they can grasp pans more easily that when wearing huge, clunky oven mitts!
So, I’l teach you how to make these very easy, DIY hot pads with hand pockets in just a few steps! As usual, I’ve created a video tutorial, along with the written instructions and photos you’ll find in this post, so you can make this project with whichever learning method appeals to you most today.
ALSO, if you’d like to purchase the PDF printable version of this tutorial so you can print it out and keep it to refer back to, you can do that here in my shop, or if you prefer Etsy, it’s listed there too.
Let’s go sew some pot holders!
How to Sew Pot Holders with Hand Pockets
I made this tutorial very beginner friendly so that anyone can follow along. If you don’t need that much hand holding, just use the measurements and sew some up without reading the instructions, I won’t be offended, ha!
And, so I don’t get caught plagiarizing myself (it’s a thing!), this tutorial was previously published here.
So here you go, revised and updated, how to make easy DIY pot holder mitts.
This post may contain affiliate links, which means that while I am not paid to promote certain items, I will earn a small commission should you purchase items through these links. For more info, see my disclosure policy.
Supplies for Sewing the Pot Holders:
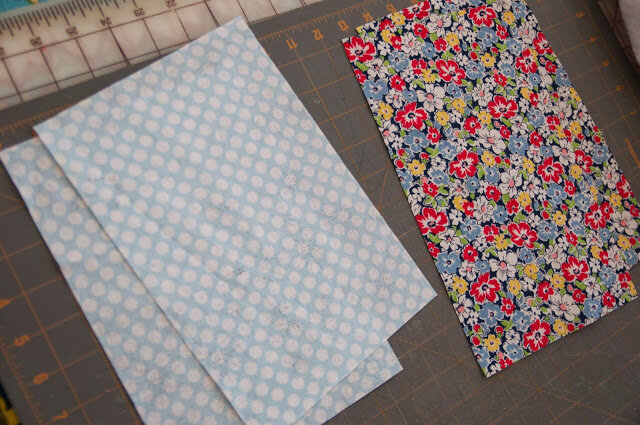
Two 11x7 pieces for your main fabric (a quarter yard will work, a fat quarter will not)
Two 10x7 pieces for your pockets
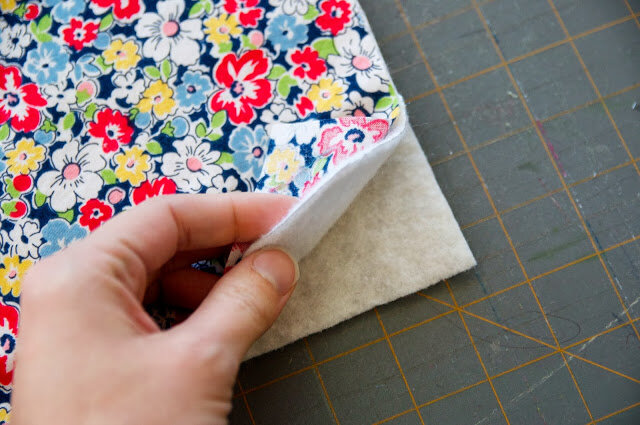
An 11x7 piece of Insul-Brite or Insul-Fleece. This is a heat resistant fabric batting made for projects like this and and it’s fairly inexpensive for a large piece, big enough for probably 20 of these pot holders.
An 11x7 piece of cotton batting. I have plenty of scraps and if you don't, it’s inexpensive to buy the craft size.
A walking foot if possible. This will help keep your layers from shifting as you sew. My machine has a built in walking foot, but if yours doesn’t, I highly recommend purchasing, as you’ll find it handy for so many projects.
A strong needle, a 90 probably. I used an 80, but my machine is semi-industrial.
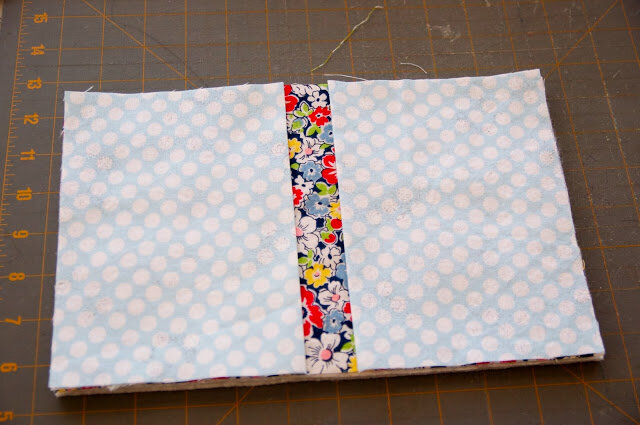
Let's get started! You should have cut your fabric to look like this:
Go ahead and press your pocket pieces in half hamburger-style:

Now for sandwiching your fabrics together. Put your piece of Insul-brite on top of your piece of cotton batting. Then put one of your main fabric pieces right side up on top of those.
If you're not using a walking foot or if you're a beginner, I'd suggest basting those layers together and also basting your pockets on after that. I skipped any basting and mine stayed together fine. Next on your sandwich goes your pockets, with the folds toward the center:
Lastly, place your remaining main fabric piece right side down on top of all that:
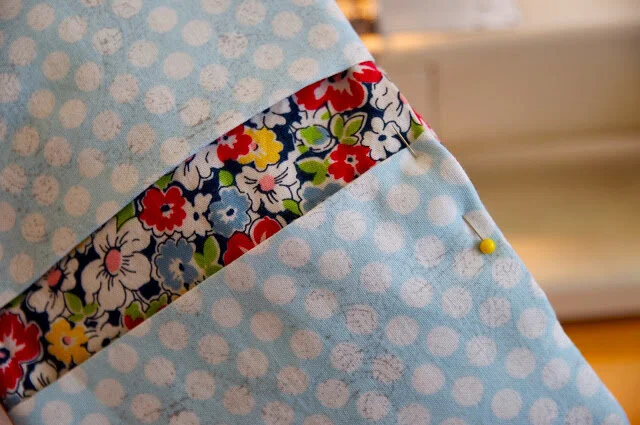
Pin your layers together around the edges, planning for an opening for turning. I put mine on a long side--you can see I placed two pins together up there to remind me to stop. I left about three inches. Maybe a bit more.

Go ahead and sew that sandwich together in a half inch seam. Then, trim your seams and corners, but not where your opening is; leaving that part untrimmed will ensure you catch those edges in when you top stitch.

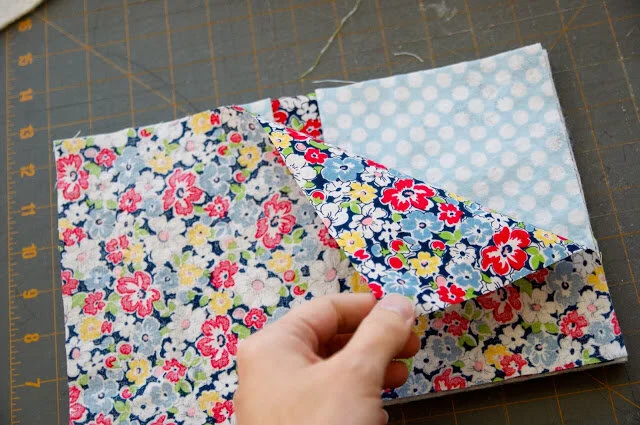
Turn right side out between your main fabric and your main fabric with pockets piece. Those layers can be confusing if you didn't baste, but you'll figure it out :)

Poke those corners out good with a chopstick (or whatever) and press it good, pressing your opening closed. I then place a pin in my opening, ready for top stitching. I don't bother hand sewing that opening, because it will be closed up with the top stitching.
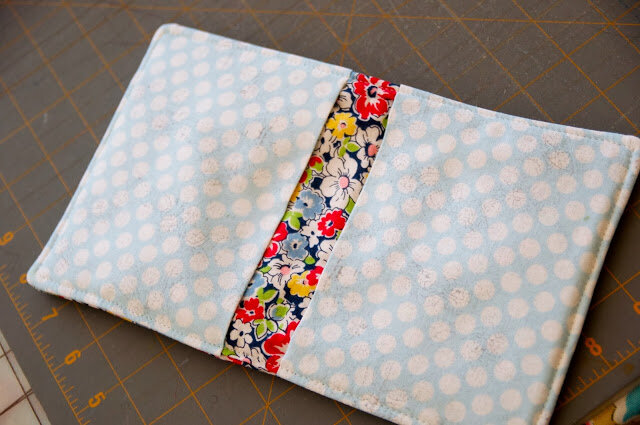
Top stitch about all the way around at 1/8” from the edge and you're done!!

These pot holders are great scrap busters and they’re great for kids to use since they protect their fingers from getting burned. I know I always prefer mitts to flat hot pads for that reason!
If you make some, I’d love to see them! Find me on Instagram and show me :)
Cheers!


8 great sewing ideas for baby gifts, with video tutorials and pdf patterns for every one!