Tips for Choosing Fabrics for Quilts
Choosing fabrics for a quilt is one of my favorite parts of the entire quilting process! However, I know it can actually be a pain point for many quilters, so I want to give you some quick tips for choosing quilting fabrics in a stress free way, that hopefully free you up to trust yourself and use what YOU like in your quilt, quilt police be darned ;)

If you’re a person who likes to watch this kind of content, instead of reading it, I’ve posted a video with all of these tips over on YouTube, so feel free to skip the reading and watch that instead! But for the readers among us, let’s get right to it.
Precut Fabrics
We can’t discuss putting fabrics together for a quilt without talking about precuts. If you’re unfamiliar, these are cuts of collections of fabrics, by one designer, that are made to go together and sold in specifically sized cuts of fabric, from 2.5” squares, to larger squares, to strips, to fat quarters and yardage. There are lots of simple quilt patterns out there that are designed to work with these precuts and can be sewn up quickly, with the assurance that all the fabrics already belong together, so it can take some of the stress out of quilting for people who enjoy them.

Using precuts is not my preferred method of quilting, but I can see the beauty in the quilts others make with them, and I can also appreciate the convenience of them. However, they can be pretty expensive! They can also result in quilts that are rather boring, in my most humble opinion.
So instead, if you see a designer fabric line that you love, I suggest choosing one or two of your favorite prints, or the main print in the collection, and then shopping your stash, or browsing other fabrics to see what you can put together with those few prints. This will result in a much more interesting collection of fabrics in your quilt, and it will reflect your own personal style.
Putting Fabrics Together
Here’s how I make this work for me. First, I choose my main, beginning fabric, either something I’ve purchased, or something I love from my stash. Then, I choose a color from that fabric to try to pull another fabric or two from my stash that goes with it (we don’t try to “match”, we just try to “go”). Then I may pull a neutral, or a bold black and white print that goes along with what I have so far.
I continue adding and taking away fabrics until I have a nice set of fabrics with a variety of lights and darks, some small prints, a solid maybe, and just a generally cohesive look, with nothing looking garishly out of place, but also maybe something that pops a little.

Shop with Purpose!
THEN, and only then, do I assess what I may need to shop for to supplement what I have going on. For example, I’ve been working on my fish quilt and started by using a scrap bag and other scraps with saturated, jewel toned colors. After working on it for a bit, I knew I was going to need more saturated blues in order to finish, so I shopped for what I needed.

The benefit to doing it this way is that you’re shopping with a purpose, for only what you need and know you’re going to use. The opposite of this is shopping to stash build, spending money haphazardly on everything that catches your fancy, then ending up with a huge collection of fabric that doesn’t go with any of your other fabrics.
When you do find yourself needing to add some fabrics to a quilt you’re working on, I highly recommend shopping for scrap bags on Etsy! When I was working on my house quilt, I was in need of more low volume prints to use as backgrounds for my improv houses and trees, and instead of having to buy expensive yardage of a just few prints, I was able to find a great grab bag of tons of smaller pieces, with enough variety to be the perfect thing for that quilt.
Oh, and one more quick tip: when I have a quilt project that I need to shop for, I cut off a small piece of each fabric I’ve already pulled from my stash that I plan to use. I then safety pin them all together and toss them in my purse. This way, when I’m at the fabric store, I’m not guessing which tones I needed more of, or choosing a blue and hoping it’s the right tone to go with the blues I’m using.

Scrap Quilting
I’ve noticed that there are many different ideas of what scrap quilting means these days! Sometimes I see Instagram influencers saying they’re making a “scrappy” quilt, but they’re pulling out yardage from their stash. And still others say a true scrap quilt literally uses only scraps and it doesn’t matter if they go together, it will all look great in the end.
Whatever your definition of a scrap quilt, I think we can all agree on the general genre and what it looks like. Most of my quilts are considered scrappy, it’s definitely my favorite way to quilt, but I also have a little bit of method to my madness, and I feel that some constraints can make things look cohesive, even when scrap quilting.

Here are my tips for putting fabrics together when going for a scrappy look:
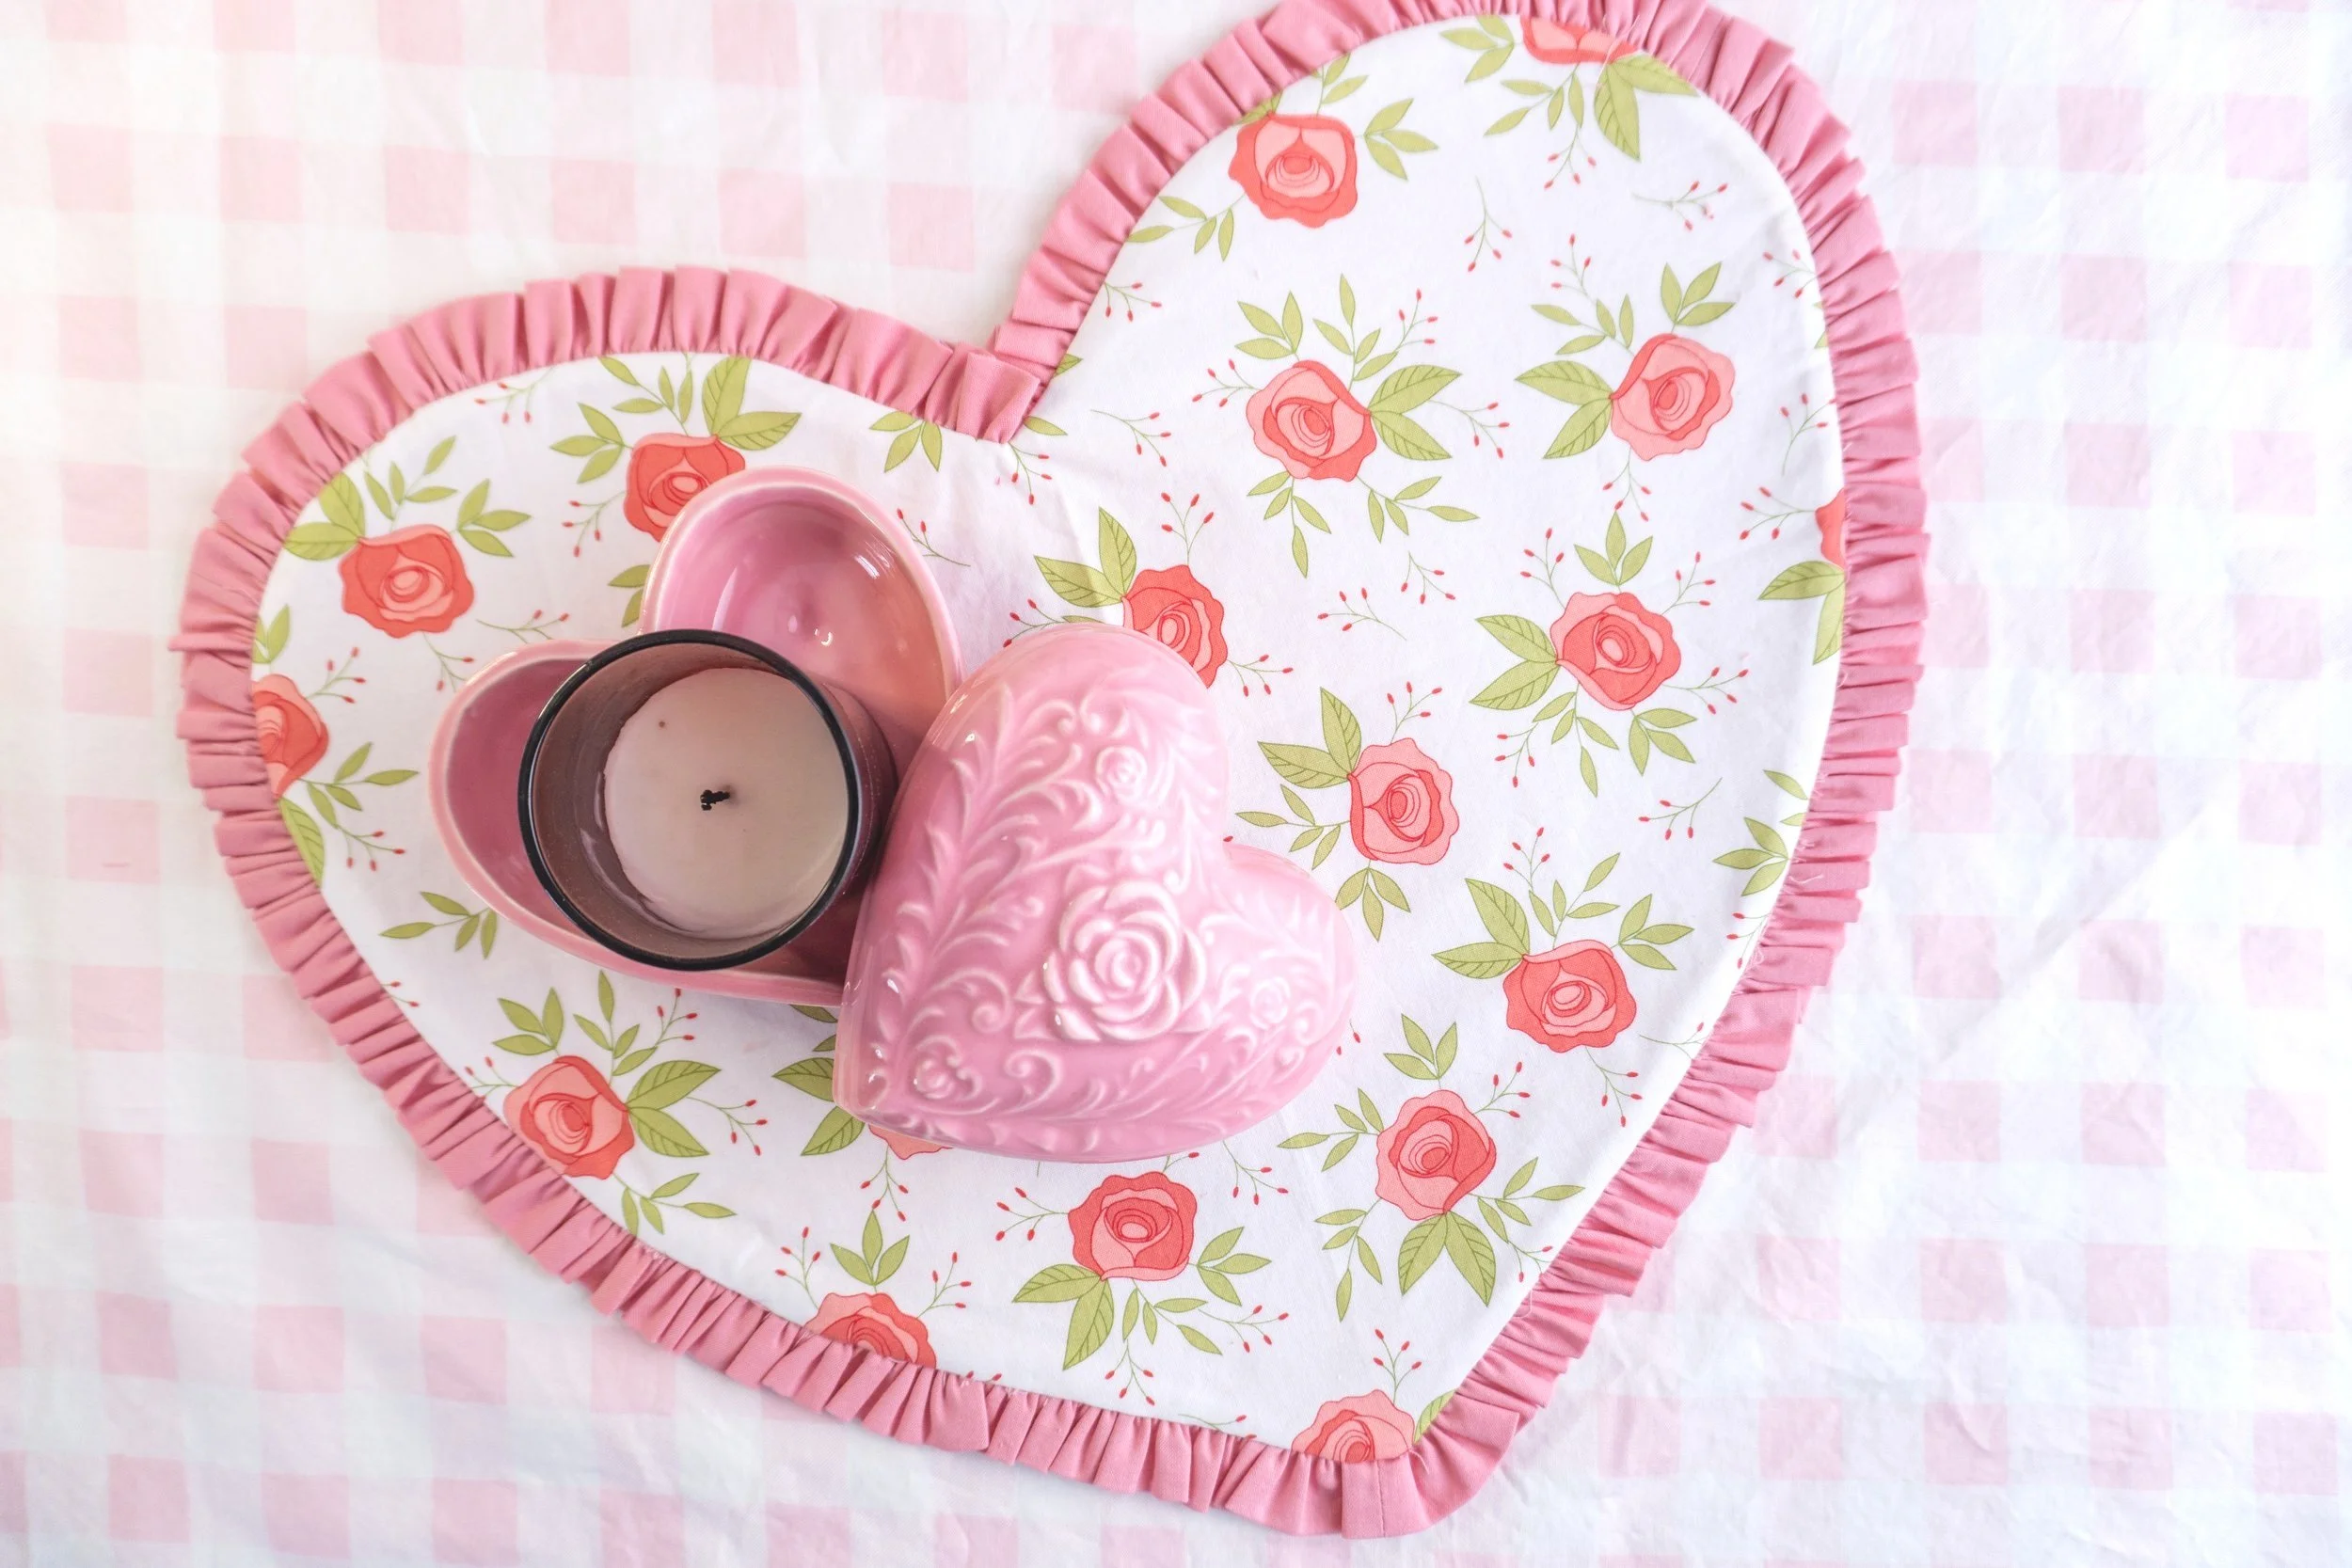
Even if your quilt doesn’t have a color scheme, it can still have an overall “mood”. My house quilt is scrappy, but it still has an overall mood of looking demure and pastel-ish, while my fish quilt is scrappy, but with a bright, saturated, jewel-toned palette.
It’s still important to place fabrics next to each other that generally look nice and that have enough contrast with each other to not make the quilt’s design disappear. The below quilt, one of my more scrappy quilts, is a good example of this. Even though I used only scraps, I still carefully choose fabrics for each block that looked good next to each other. Scrap quilting isn’t just a free-for-all.
Don’t use fabrics you hate! There’s a quote that floats around out there that if you don’t like a fabric, you just haven’t cut it small enough. I disagree! If you hate a fabric, get it outta there, because if you don’t, you will notice it every time you look at that quilt, it will NOT grow on you, and you will regret it, LOL.
Choose a color or two to leave OUT. This is a great tip I learned from an interior designer once and it has really been helpful for me. Your quilt can look more cohesive when using scraps, if you leave a color or two out. Notice my scrap quilt below has no purple! I think this really helps to make the colors it does have blend together nicely.

Themed Quilts
Do you remember the old home design shows like Trading Spaces and Extreme Home Makeover? Remember how a kid would say they liked something, like dinosaurs, and the designers would go absolutely ALL OUT on the theme and the family was probably pasting smiles on while actually thinking, “what the heck?”
Don’t make that same mistake in your quilts! Say your nephew asks for a dinosaur quilt. Your inclination might be to go find all the dinosaur fabrics you can and put them together in one quilt. This can make for a very chaotic end result.
Instead, choose one great dinosaur fabric. Then, using the method I laid out above, find other fabrics that coincide with the print. Maybe a black and white fabric with little bones, and some textured brown fabric that resembles dirt, and a few solids that complement the dinosaurs.
You don’t need to be too literal with themed quilts either. You can simulate a fish in water without buying actual ocean wave fabric, for example. And you can give a quilt a girlie vibe without having actual bows and ballerina prints, if that makes sense.

Trust Yourself
Lastly, I just want to give you permission to like what you like! Who cares what the quilting “rules” say if you think something looks good! I think a lot of people think there is a certain way a quilt has to look in order to be acceptable, and that’s the reason many go for the premade fabric collections. I hope this article has given you some confidence to try some different methods and practice, and trust yourself to put fabrics together that YOU love!
Do you have any tips or strategies for putting fabrics together for quilts? We’d love to hear them in the comments!
Cheers and happy sewing :)
Nikki