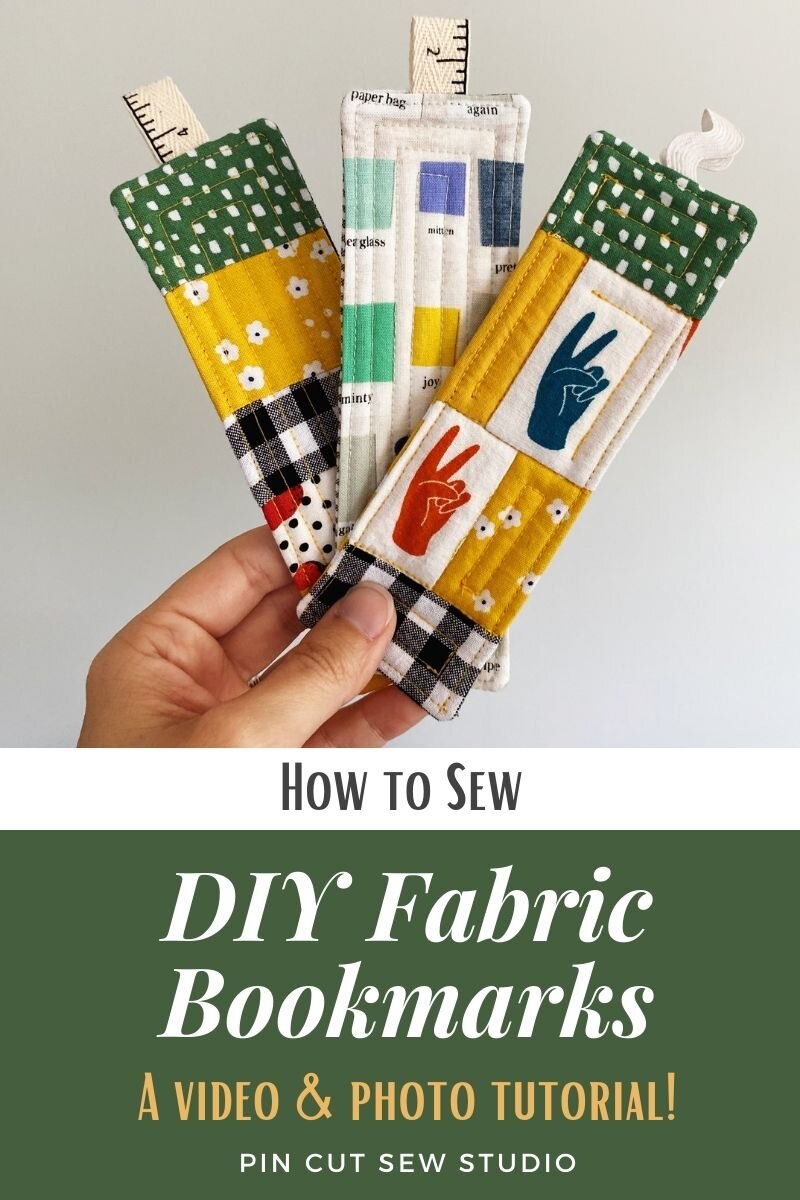
How to Sew Easy, Quilted Fabric Bookmarks (a scrap friendly project!)
I’m a total book nerd. My family makes fun of me when they catch me reading while cooking. I read allll kinds of things, history, science, biographies, theology and of course, fiction (Agatha Christie superfan, that’s me). I get annoyed when I forget to bring a book somewhere and then end up waiting in the car or something, haha! If you’re a reader too, you’re going to love this sewing tutorial today! I’m going to show you how to make very easy quilted fabric bookmarks!
Whenever my kids ask me what they can give me for a gift, I say handmade bookmarks; partly because I know their budget is nonexistent, haha, and partly because I really neeeeed bookmarks. As both a reader and a homeschool mom, there are books all overt the place, so bookmarks are a great gift for anyone, really. There are so many great DIY bookmark ideas, but I just love to make these little quilted ones!
These fabric bookmarks are very simple and can be made with scraps. They’re so easy to personalize with different fabrics for everyone in your life, and you can sew up a big batch of them in an evening. Below, you’ll find the bookmark sewing tutorial in two forms —- a video tutorial, as well as written instructions with photos.
AND, this is new here at Pin Cut Sew — you can purchase a printable PDF version of this tutorial in my pattern shop for just a few dollars! I’ve been wanting to offer this option for a long time and I’ve finally made it happen. It’s much more convenient to have a printable version of any tutorial, so I hope this is something you find helpful, and your support of Pin Cut Sew Studio really means so much to me! I’m working on getting most of my prior tutorials added as quickly as I can (there are a lot more than I remember writing, ha!)
So, without further ado, join me in sewing up some cute quilted DIY bookmarks!
This post may contain affiliate links, which means that while I am not paid to promote certain items, I will earn a small commission should you purchase items through these links. For more info, see my disclosure policy.
How to Sew Easy, Quilted Fabric Bookmarks
Video Tutorial
Here is the full video version of the tutorial. Keep reading below the video for the written instructions with photos if that’s what you prefer. And of course, if you’d like a printable version, grab that here in my shop.
Written Instructions with Photo Tutorial
Materials:
You’ll need a scraps of cotton fabrics for the bookmark front and back. If I have extra time, I piece together fabrics so it’s more of a patchwork look. Watch the video above to see what I mean! For this photo example, though, I just used a whole piece of fabric and it’s just as great.
You’ll also need some cotton batting. Not the thick polyester kind, that will make your book pop open. This warm and natural brand is my favorite batting. I keep some on hand always.
Lastly, you need a scrap of ribbon or trim for the tab.
Sewing Instructions:
First, cut your bookmark front out. It needs to measure 2.5” x 7”. Don’t cut the back and batting to that size, though. When working with batting, it’s sometimes easier to leave those pieces larger than you need for now and trim them after sewing. So cut your batting piece slightly larger than your front piece. And then cut your backing slightly larger than that.
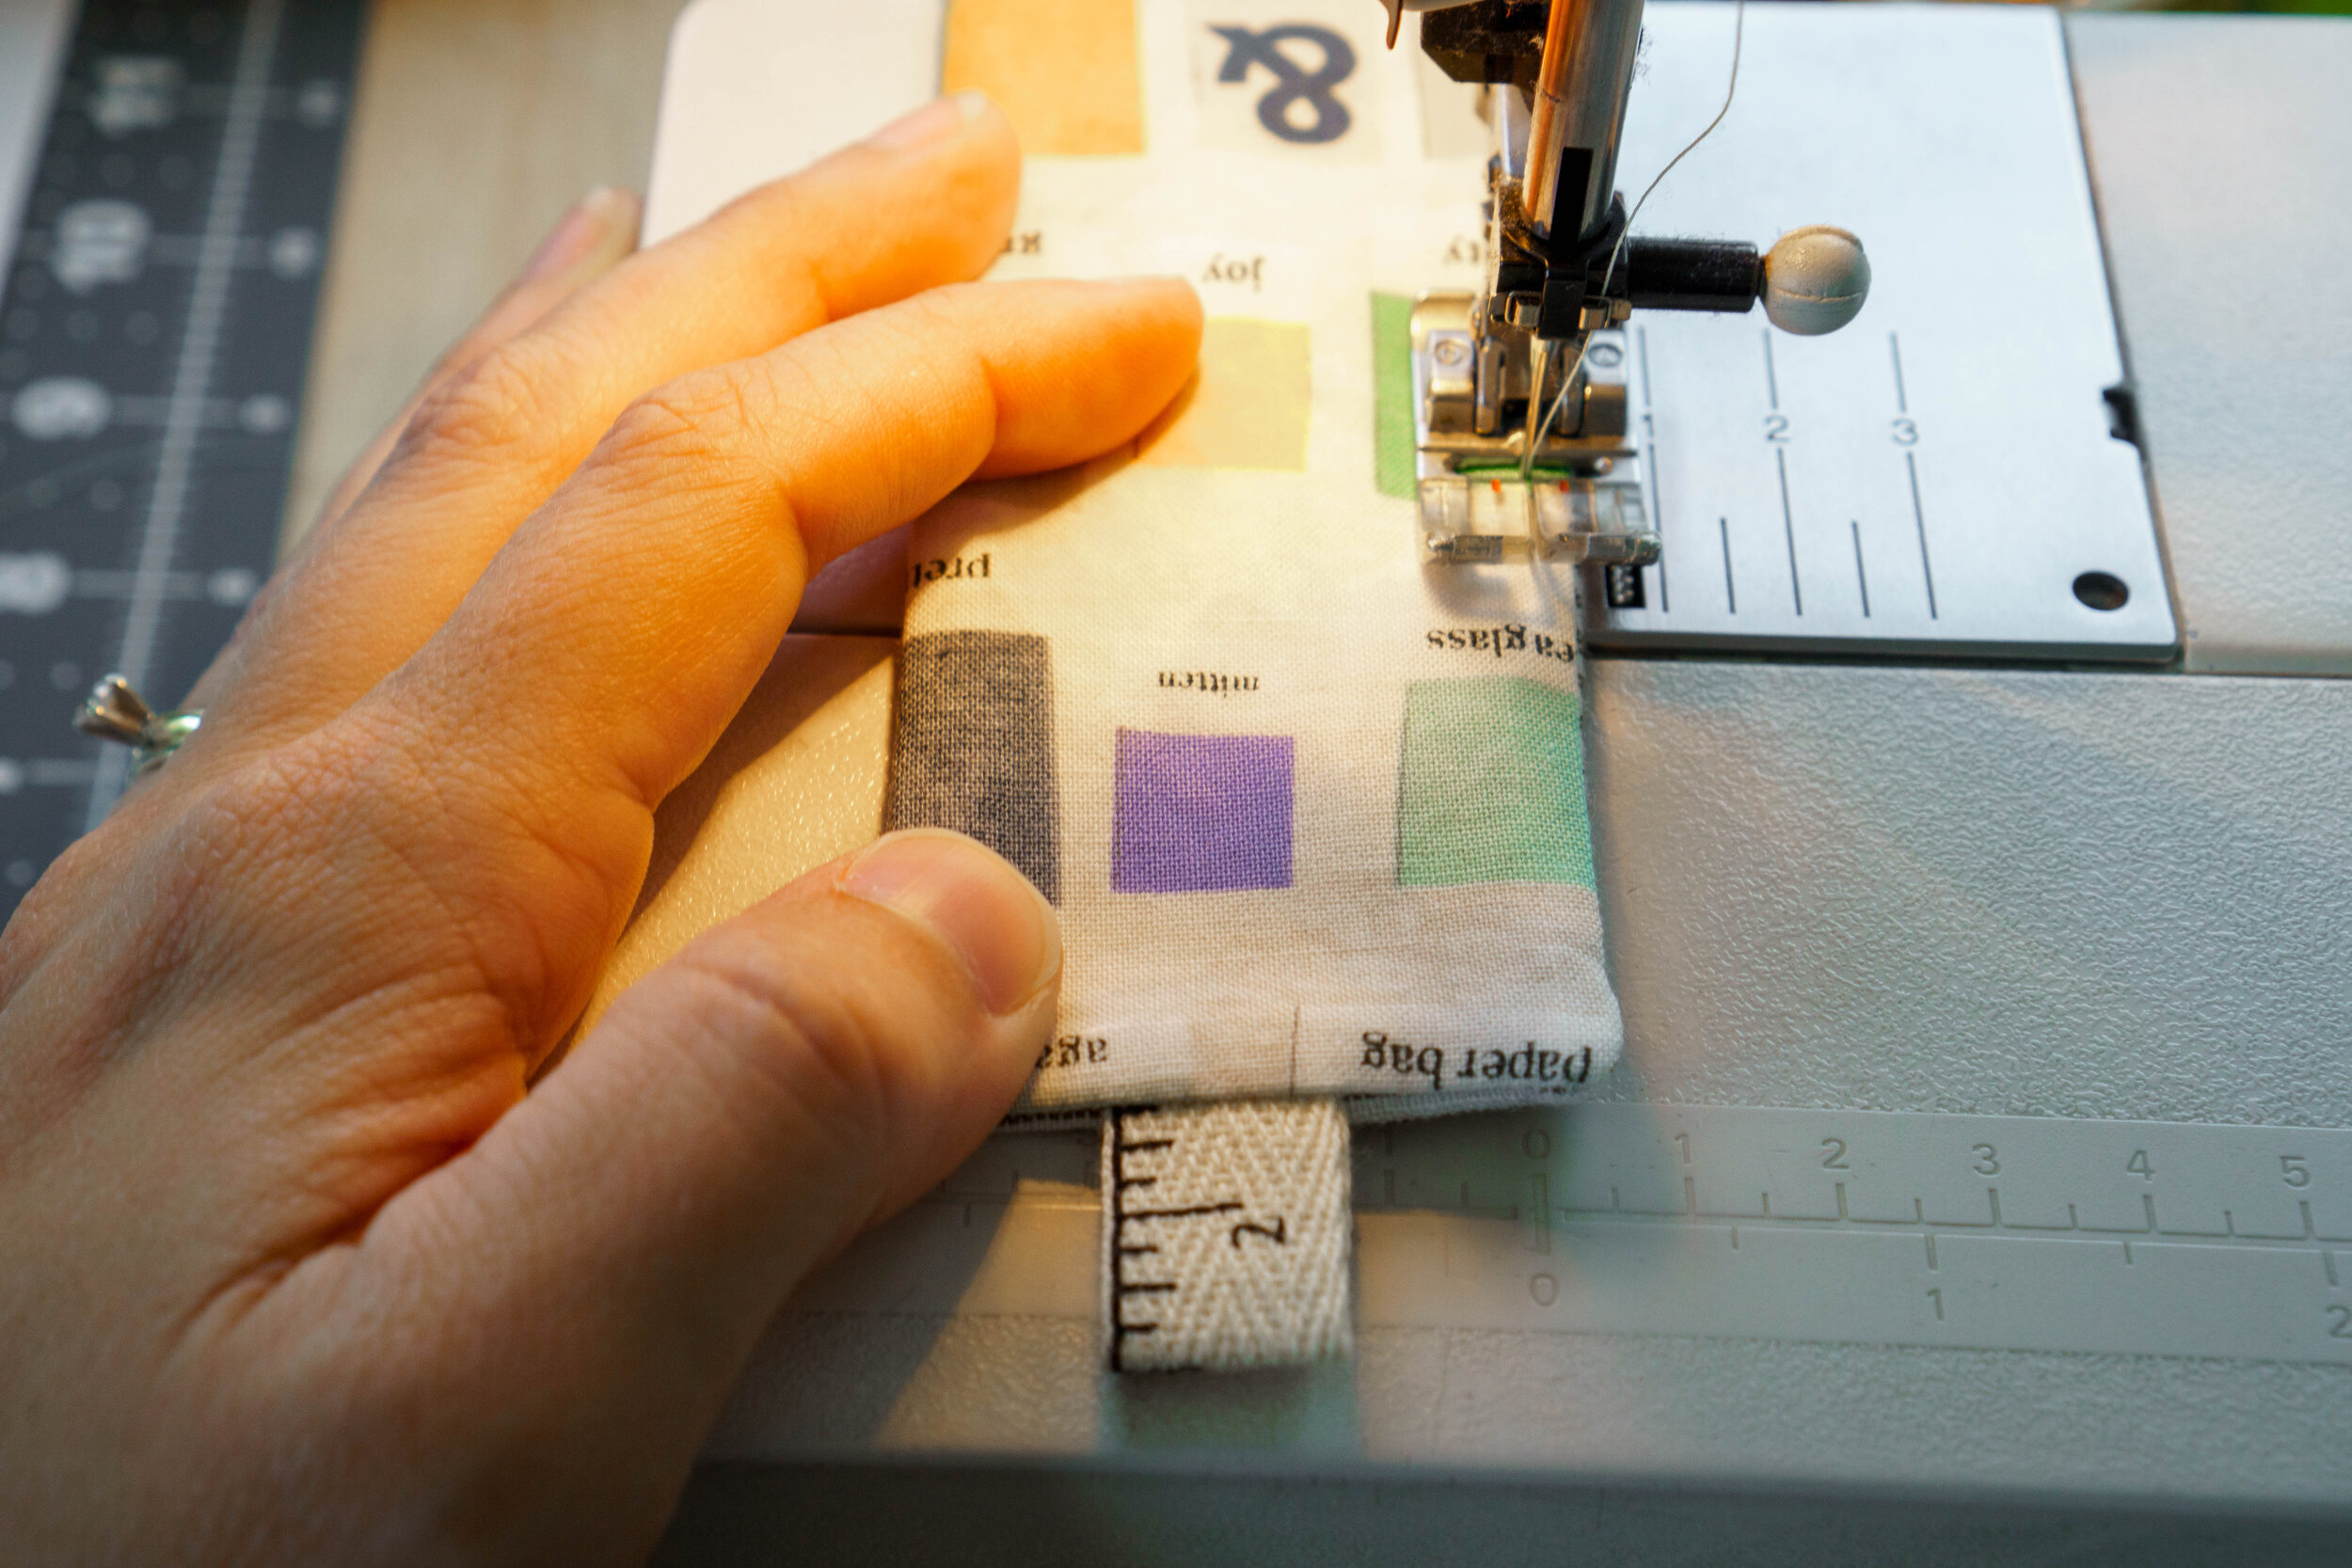
Next, fold over and attach a pice of ribbon or trim the top of the front piece, right in the middle, raw edges together. You can sew this on real quick, or just stick a pin there and trust yourself to sew it where it needs to be. For mine, I used a cute piece of twill tape. You can also do longer ribbons, of course, or multiple ribbons, it’s up to you! If you leave any ribbons long with raw edges, I recommend Fray Check to keep the ends from unraveling.
Let’s make a sandwich. First, place the batting piece down on your work surface. Then, place your backing piece on top of that, right side facing you. Then, place the front piece on top of that, right side down. Place pins around it.
Time to sew! If you have a walking foot for your machine, now would be a great time to use it. A walking foot is helpful for any quilt project because it keeps the layers moving along all together. This is a small enough piece that you will probably be fine without one, especially since we didn’t cut everything to size beforehand, but if you do have bunching problems, a walking foot will solve them (and I promise you’ll get plenty more use out of it!)
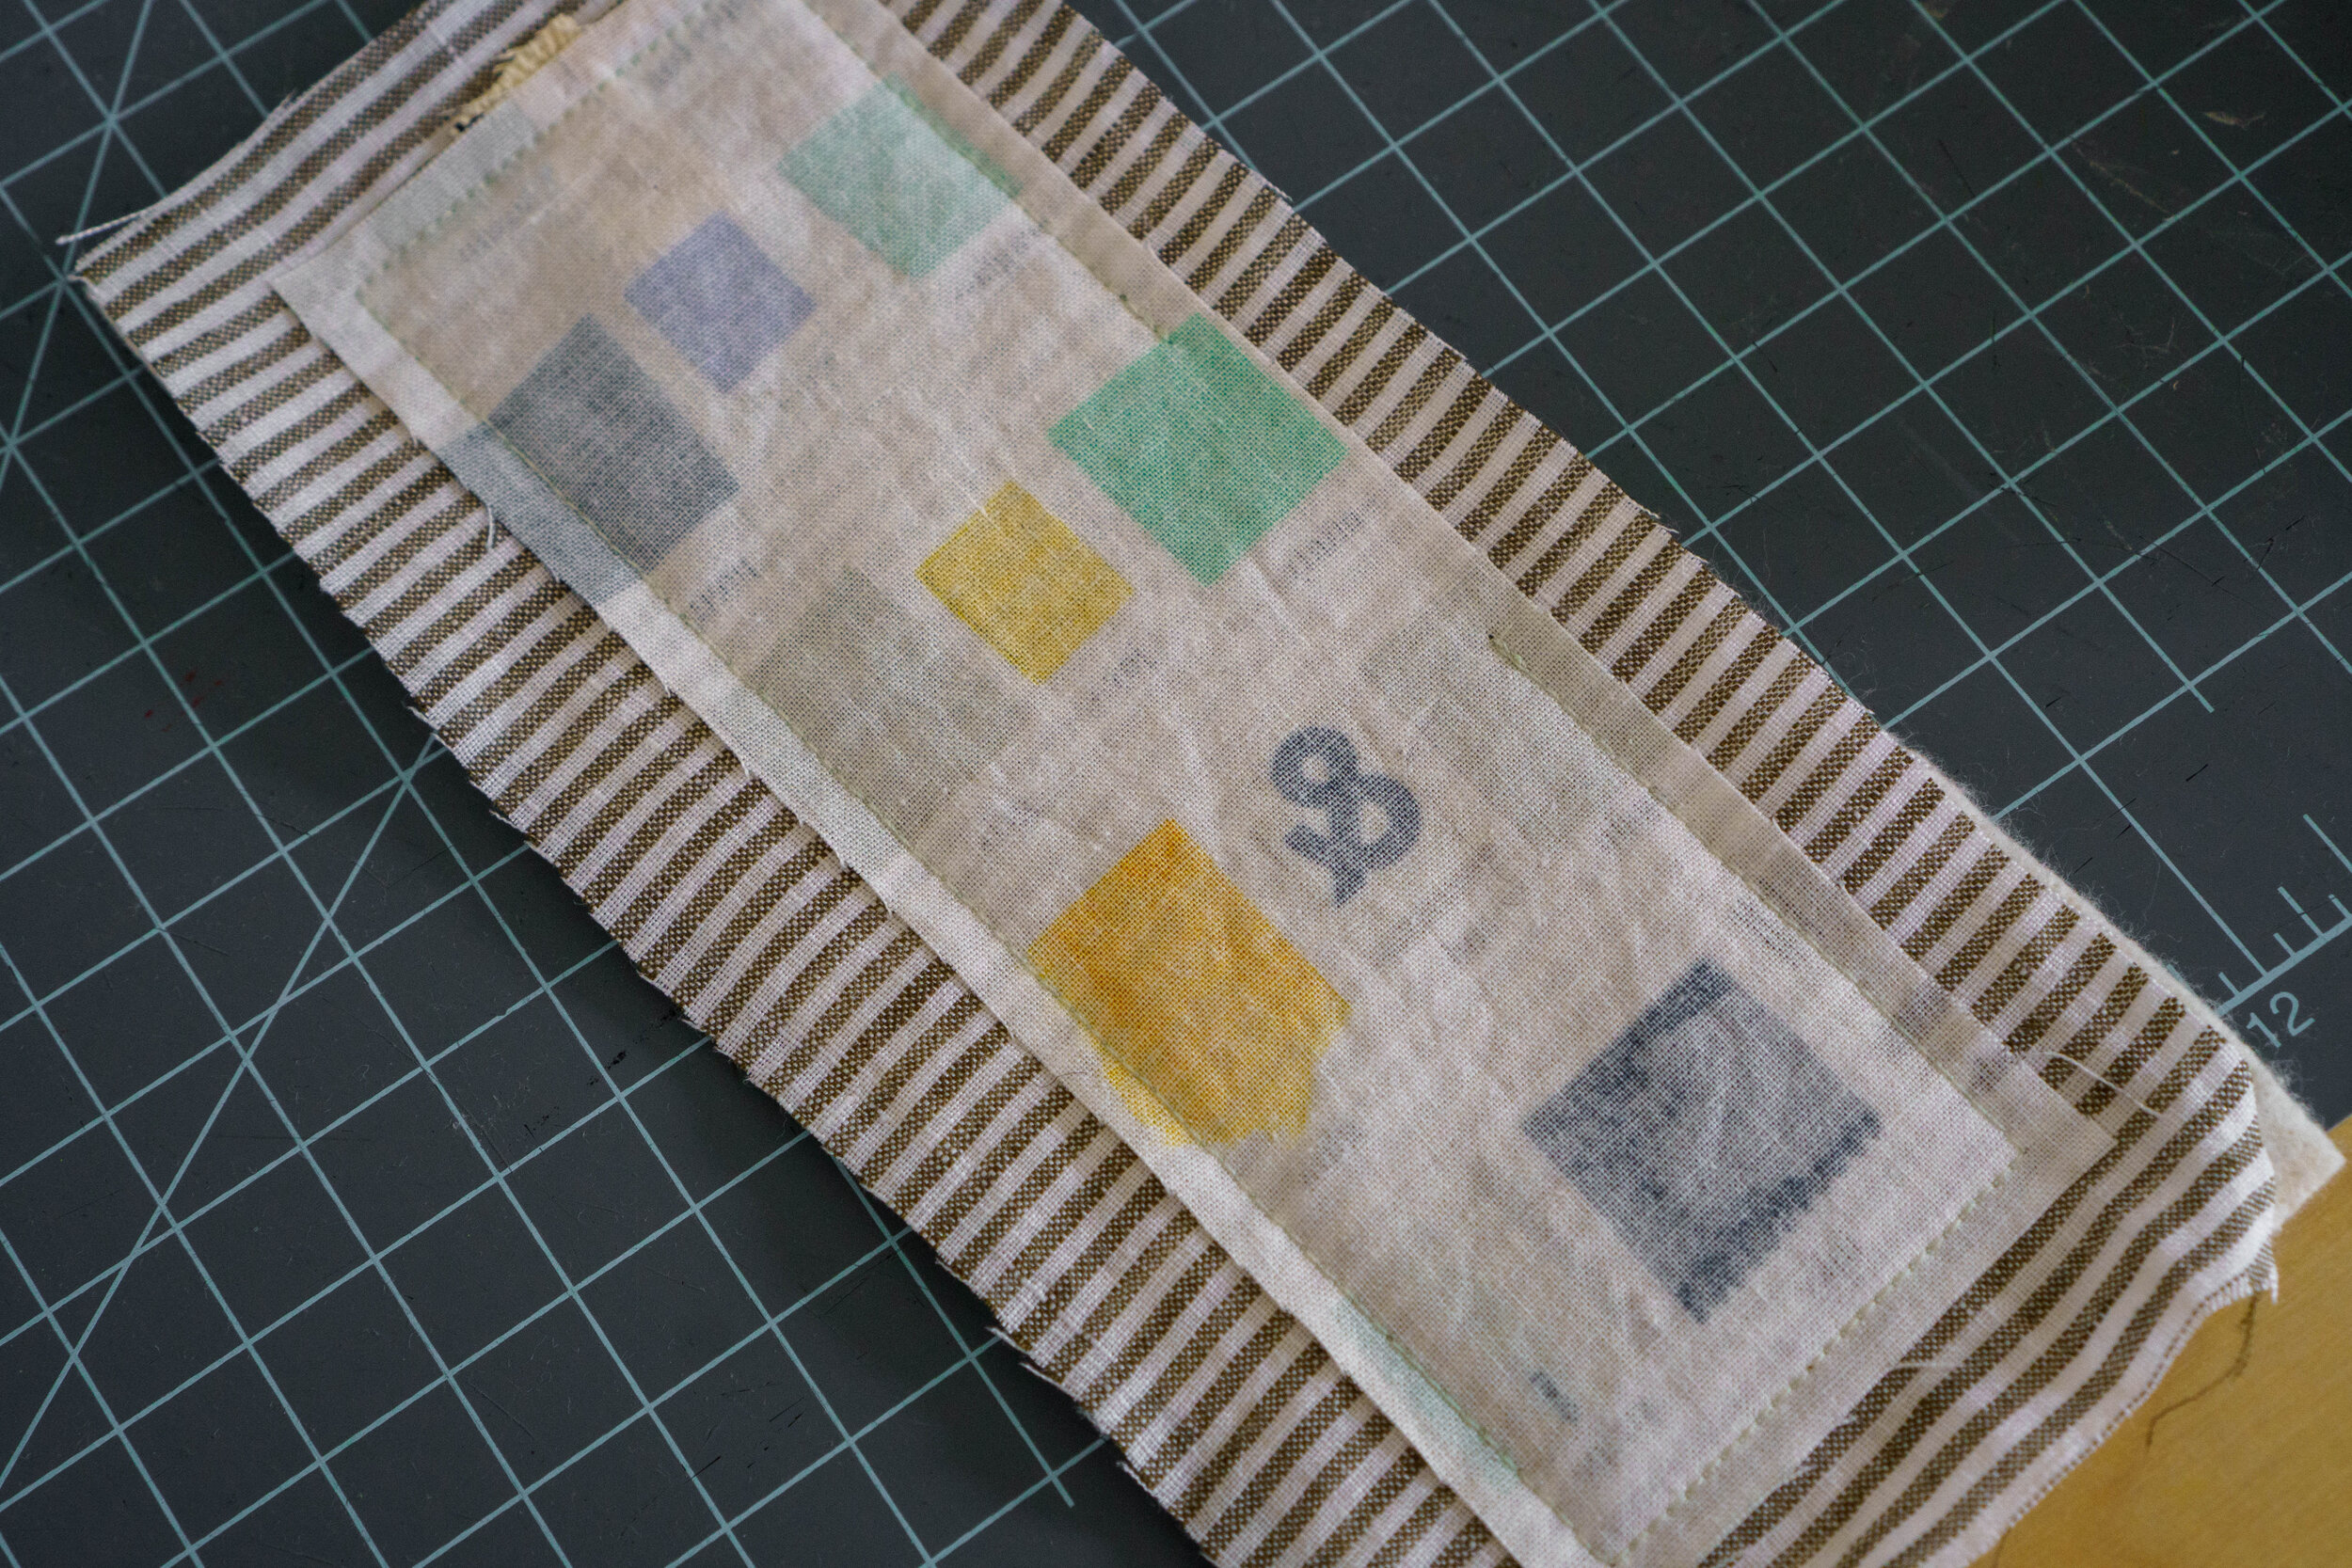
Stitch all the way around the bookmark front piece, 1/4” from the edge, leaving a few inches open along one long side for turning it right side out.
Next, trim the excess batting and backing off and clip the corners so they turn out nice and neat. Then you can go ahead and turn your bookmark right side out through your opening.
Give your bookmark a good press, pressing the opening in as if you had sewn it. Use steam and get it nice and flat! Then you’re ready to top stitch all the way around, 1/8” from the edge. This top stitching will also sew your opening closed.
Lastly, quilt your bookmark! This step is what makes the bookmark flatter so that it’s not too poofy to use inside of a book. So the more stitching, the better. You can of course get creative with this, but my favorite method is to sew concentric rectangles inside of it.
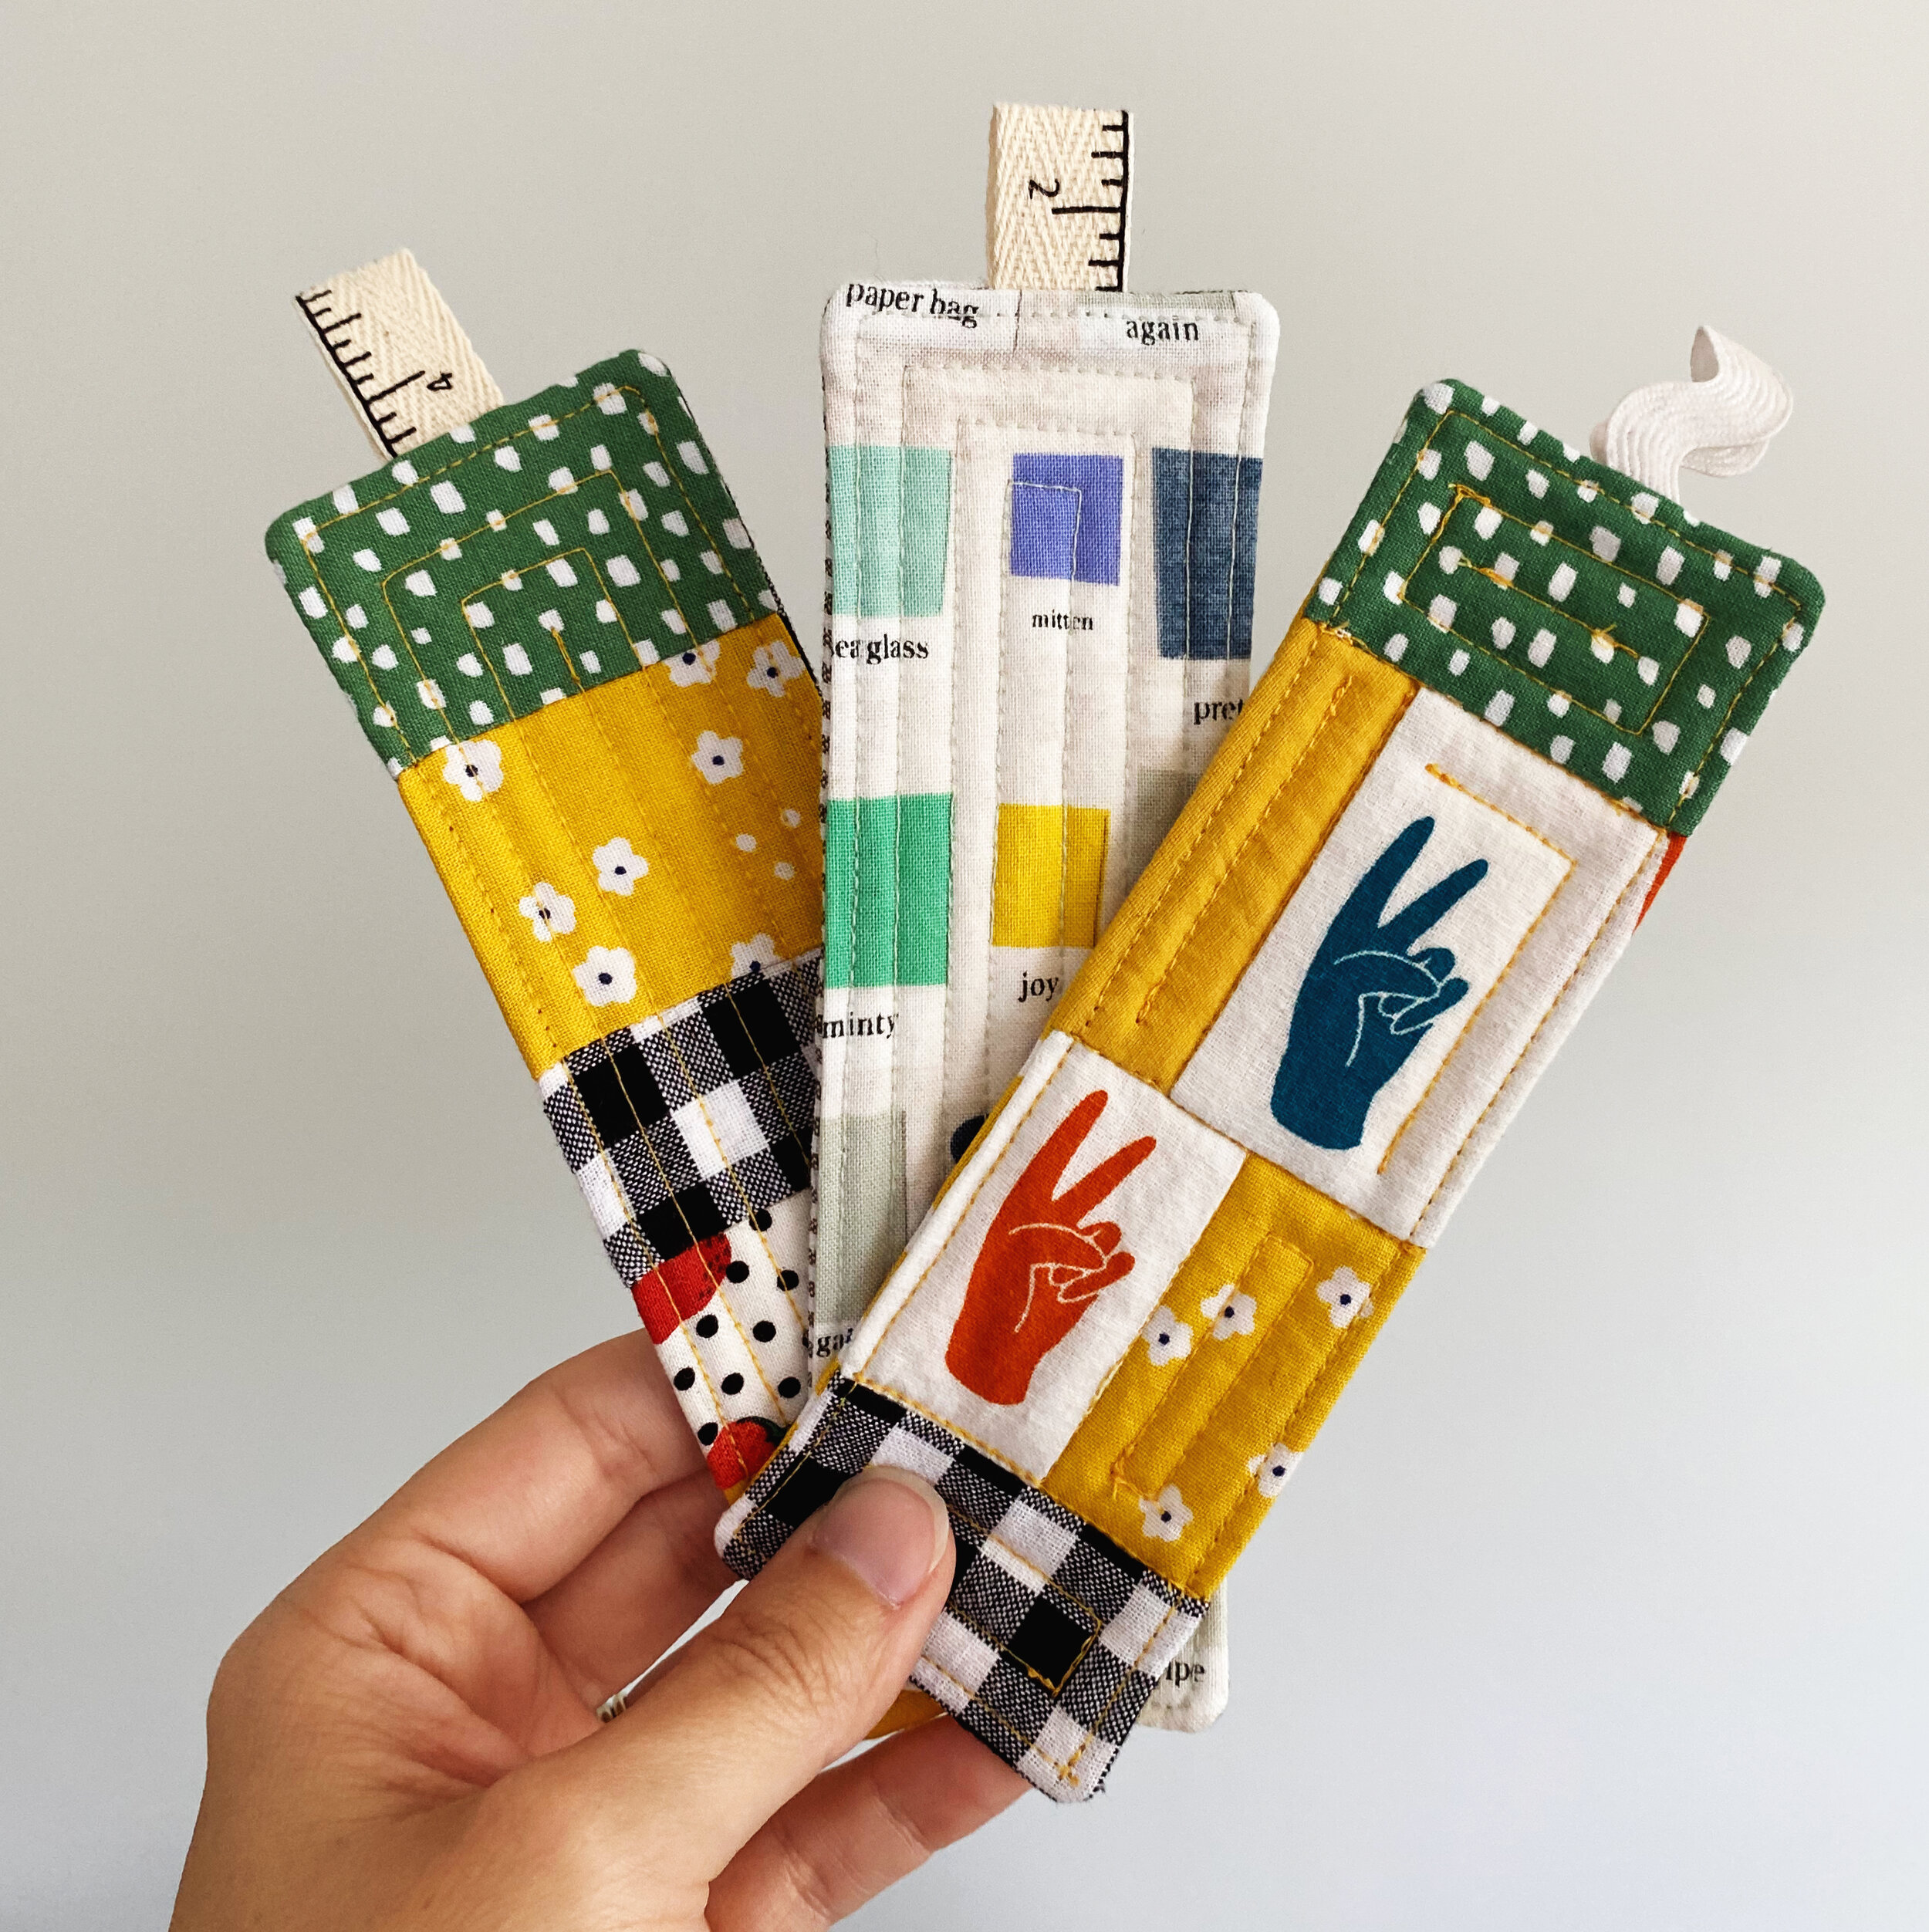
There you go! This is a great DIY project to get very creative with! After I made this one, I got busy making a few more, but with pieced together fabrics. The one with the peace sign hands is my favorite! Fabric bookmarks are a great way to showcase some cool fabrics like that one. This is also one of those projects that is very relaxing, since they’re so simple and quick, and don’t really take much thinking power once you’re made one.
I hope you’ve enjoyed this DIY bookmark idea! If you make some bookmarks, don’t forget to show me. Email me, or tag my on Instagram, I love seeing what others or making with these ideas :)
Cheers!
Nikki

