Beginner Quilt Series || Part 1
Let’s get started! If you missed the introduction to this scrappy quilt project, click here and read all about it. I’m creating this tutorial for beginner quilters. Since so many of my readers are here because of the beginner friendly tutorials I’ve created over on YouTube, it’s safe to assume there are more beginners here than pros, but if you are in the pro quilter category, please create with us anyway! We’ll be using the hashtag #quarantinequilt over on Instagram so we can share with one another.
This post may contain affiliate links, which means that while I am not paid to promote certain items, I will earn a small commission should you purchase items through these links. For more info, see my disclosure policy.
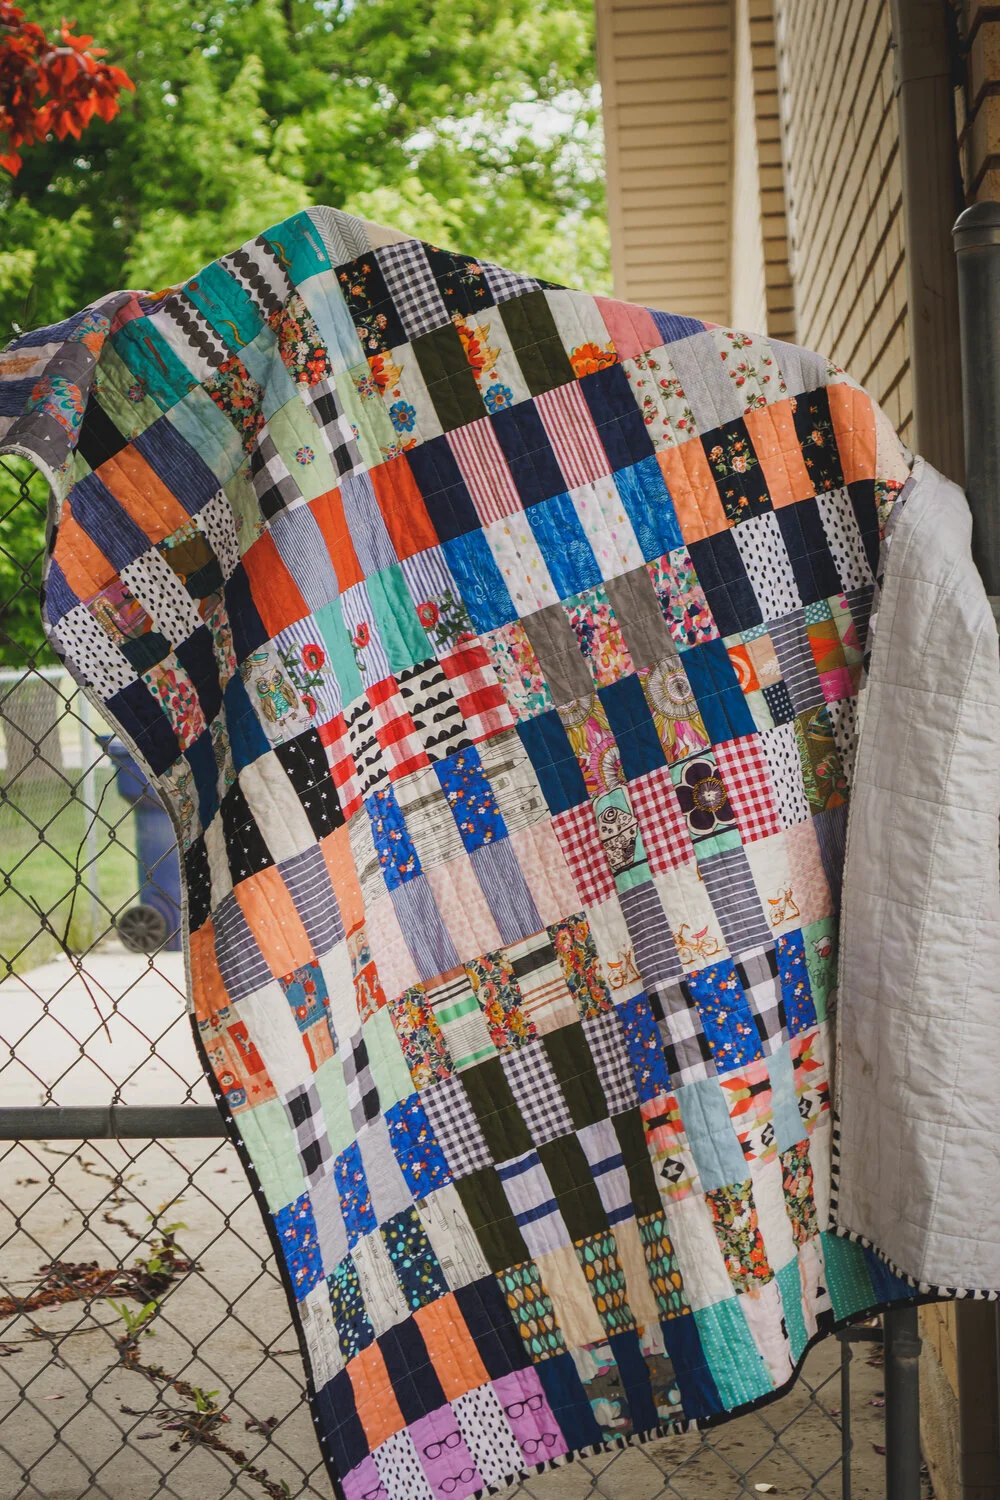
To remind you, here is the scrap quilt we’re working on:
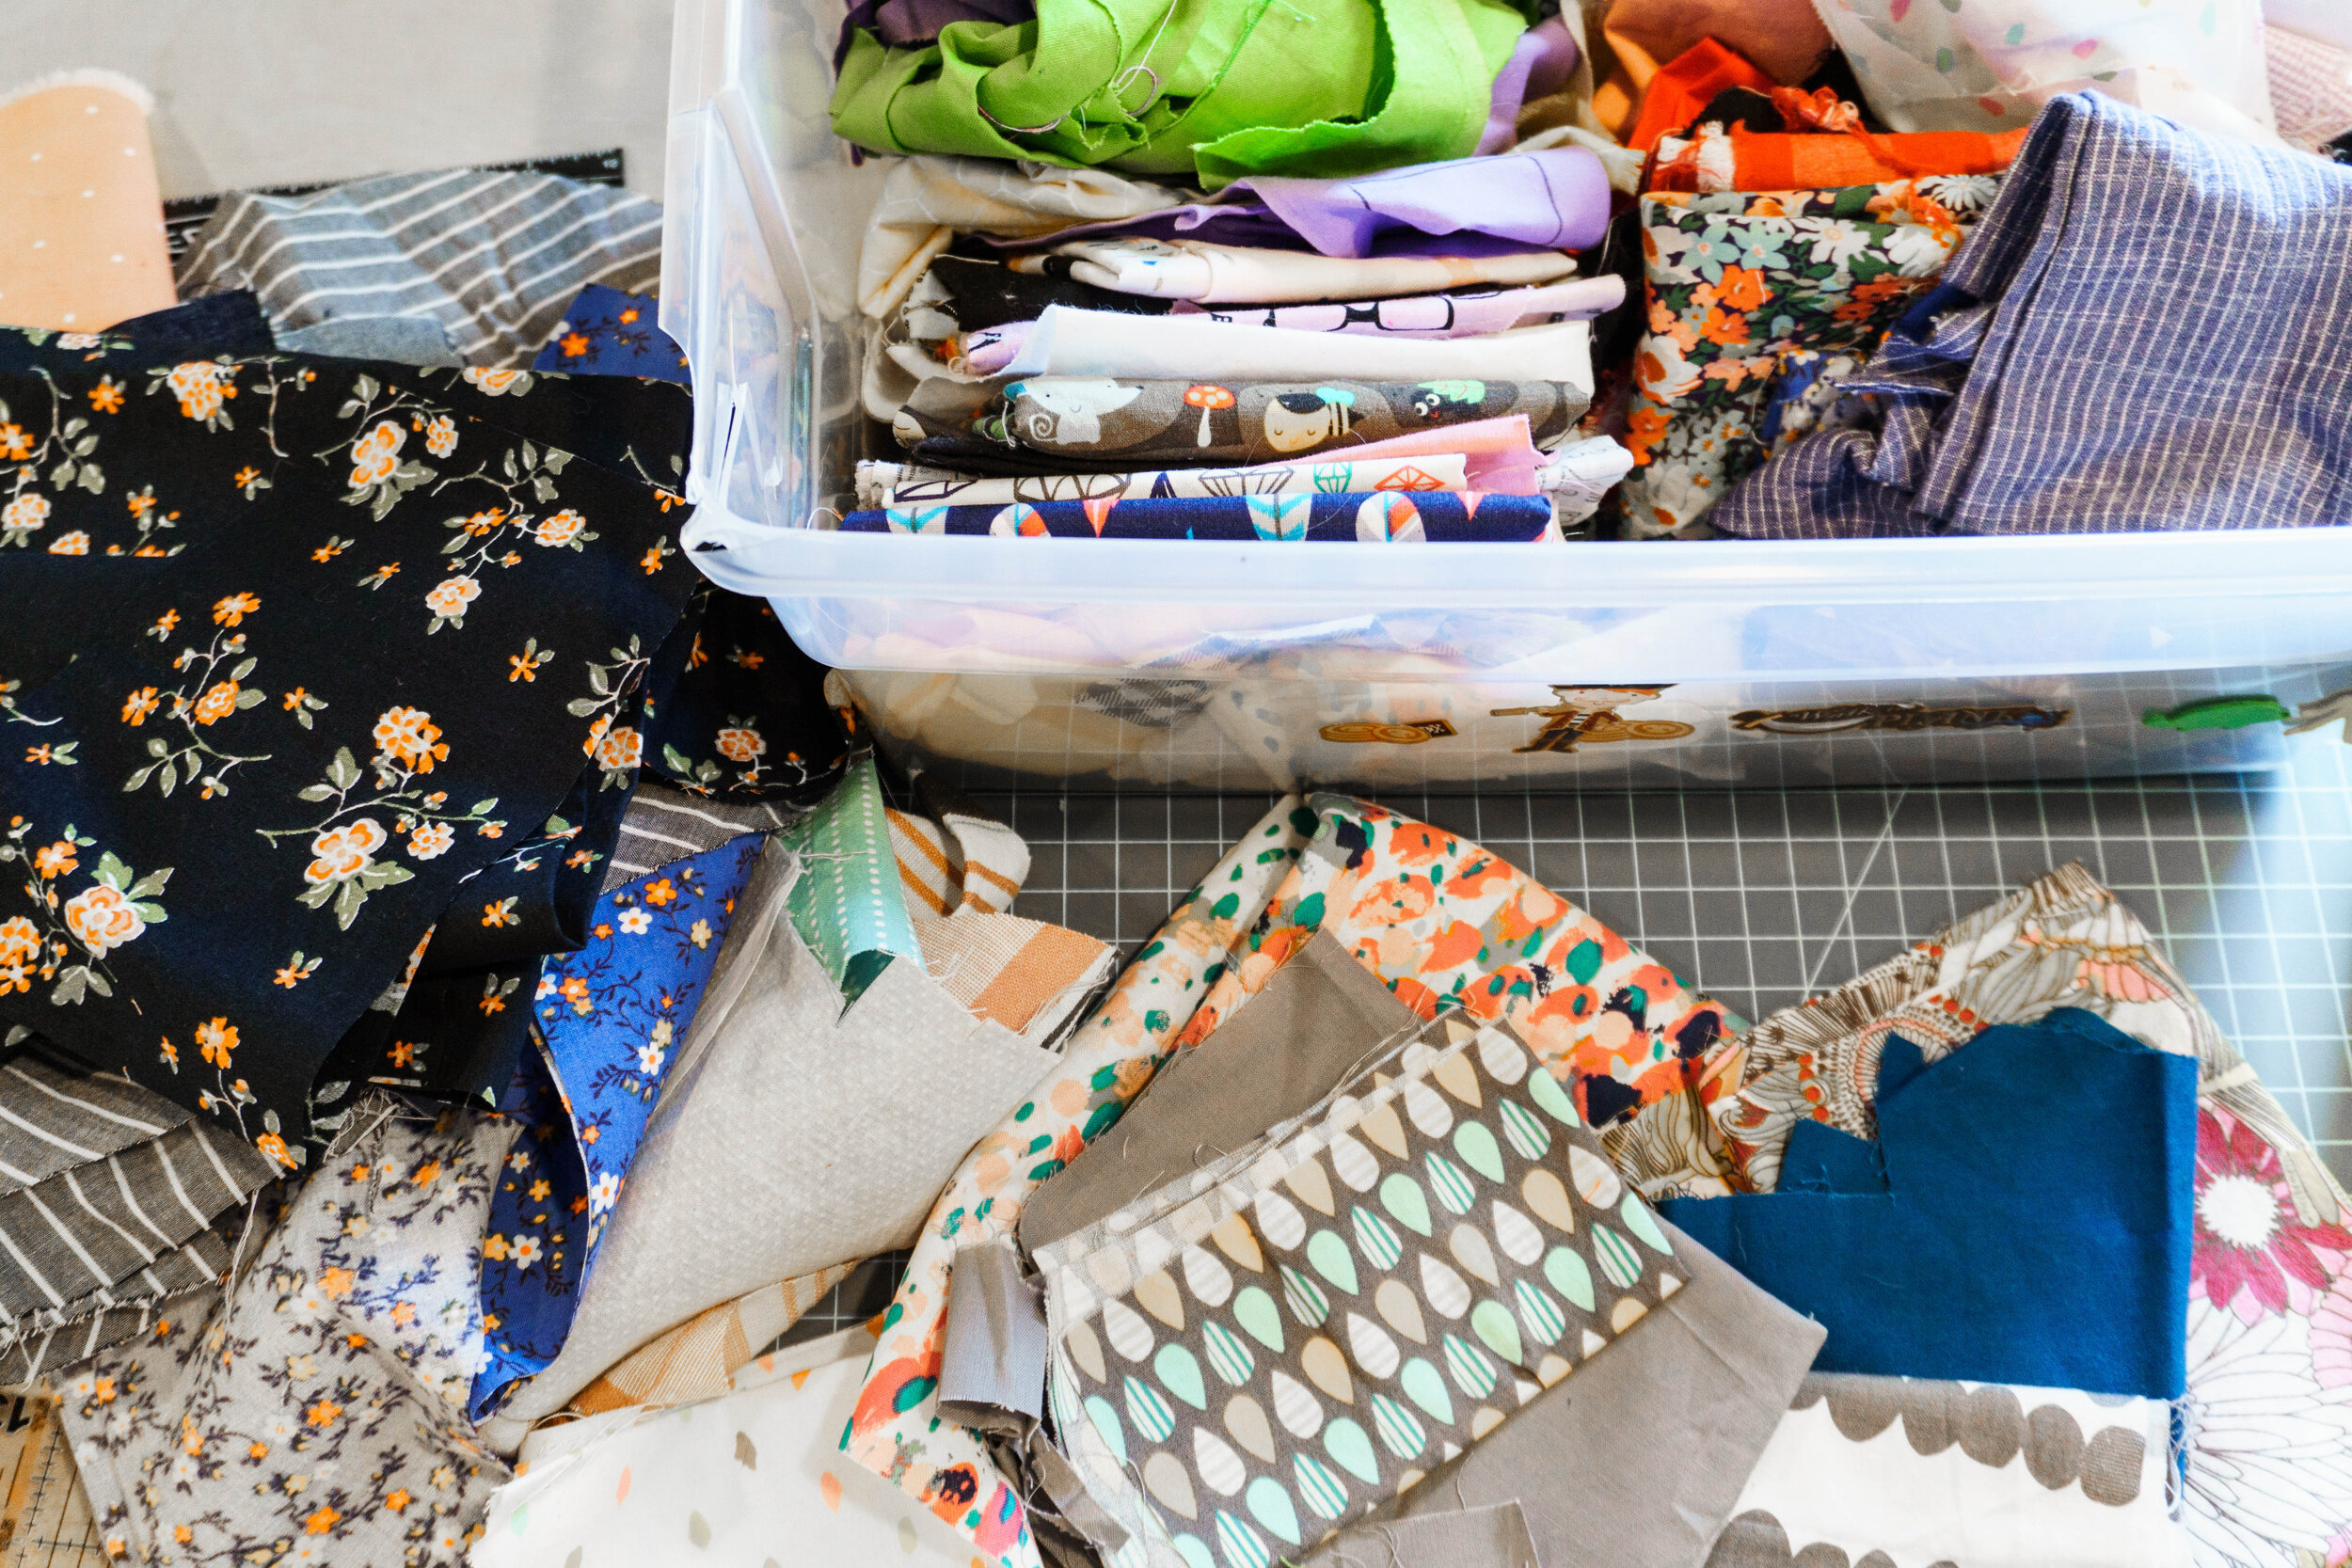
Gather your scraps
This is a scrap quilt, so you’ll need scraps. They don’t even need to be very big. Stick with cottons and linens and don’t shun fun textures and different weights like denim, shirting or Swiss dot. Definitely do not use stretch fabrics!
“What if I don’t have scraps?”
While mine is scrappy, yours doesn’t have to be! Here’s an example of a similar quilt with fewer fabrics. Consider using your giveaway pile and cutting up the clothing in there, or raiding your husband’s closet for the plaid shirts that he never wears. And you can always order some fat quarters to fill in the gaps!
The basic block
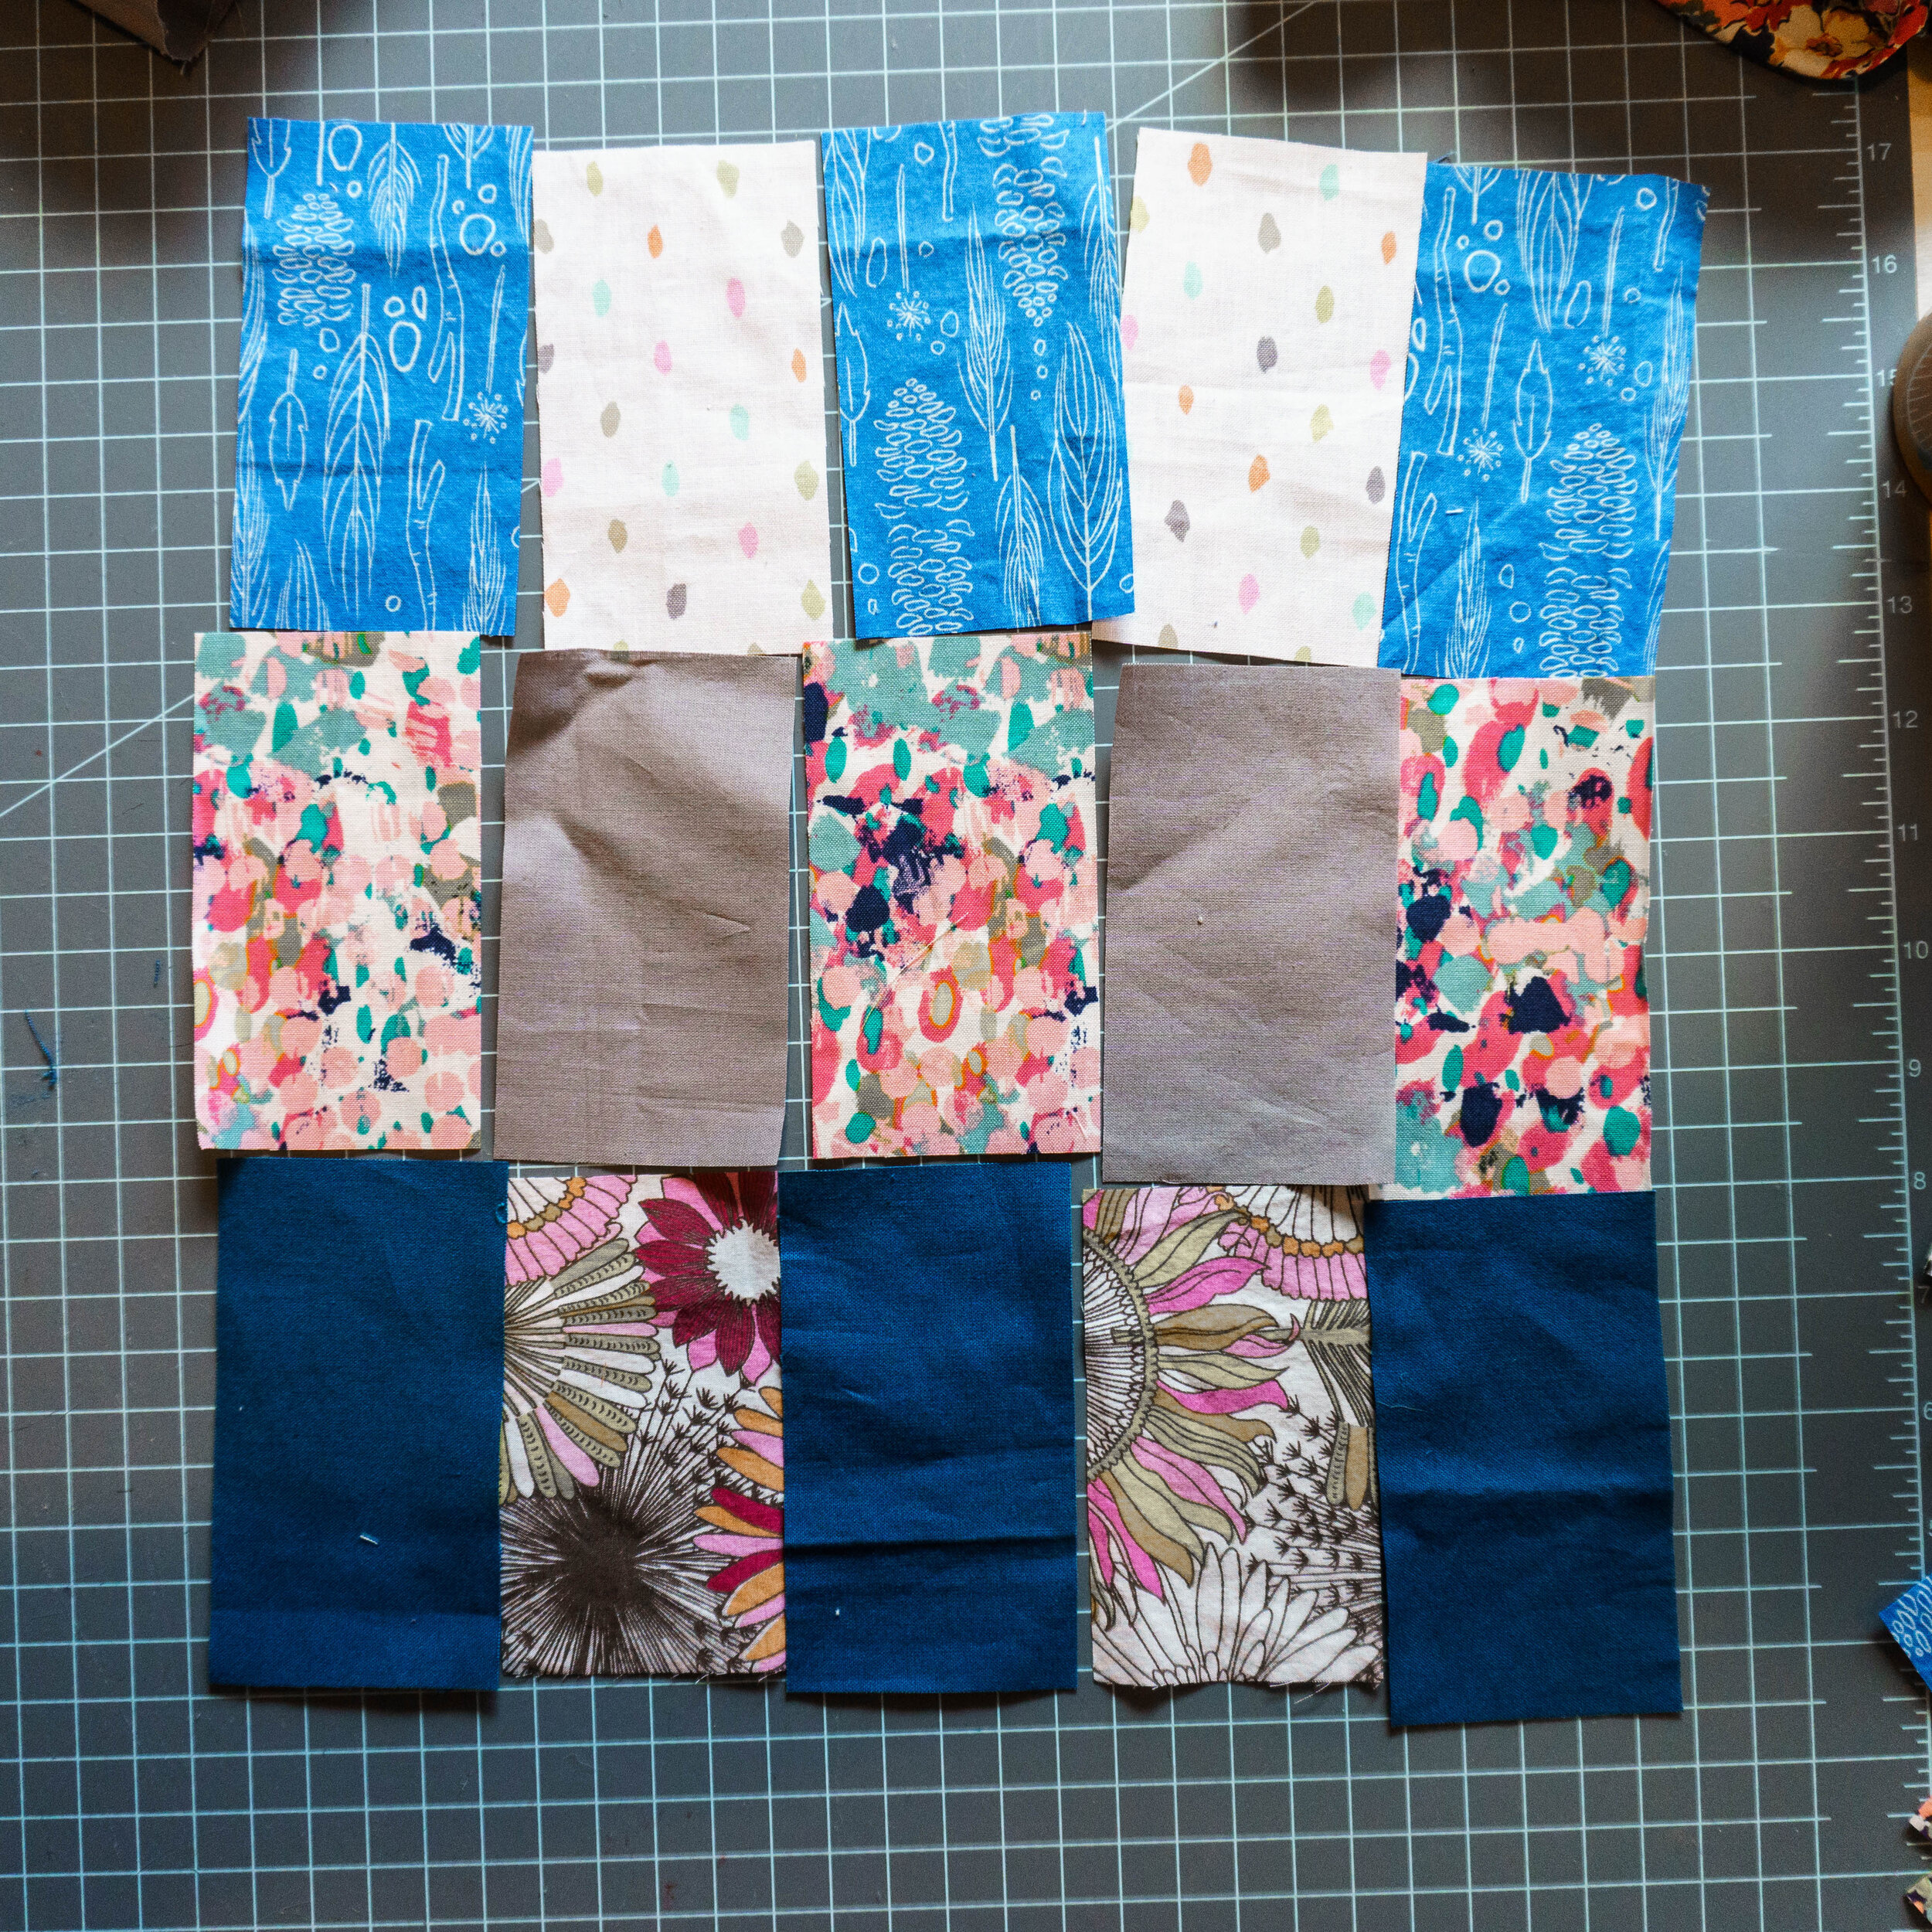
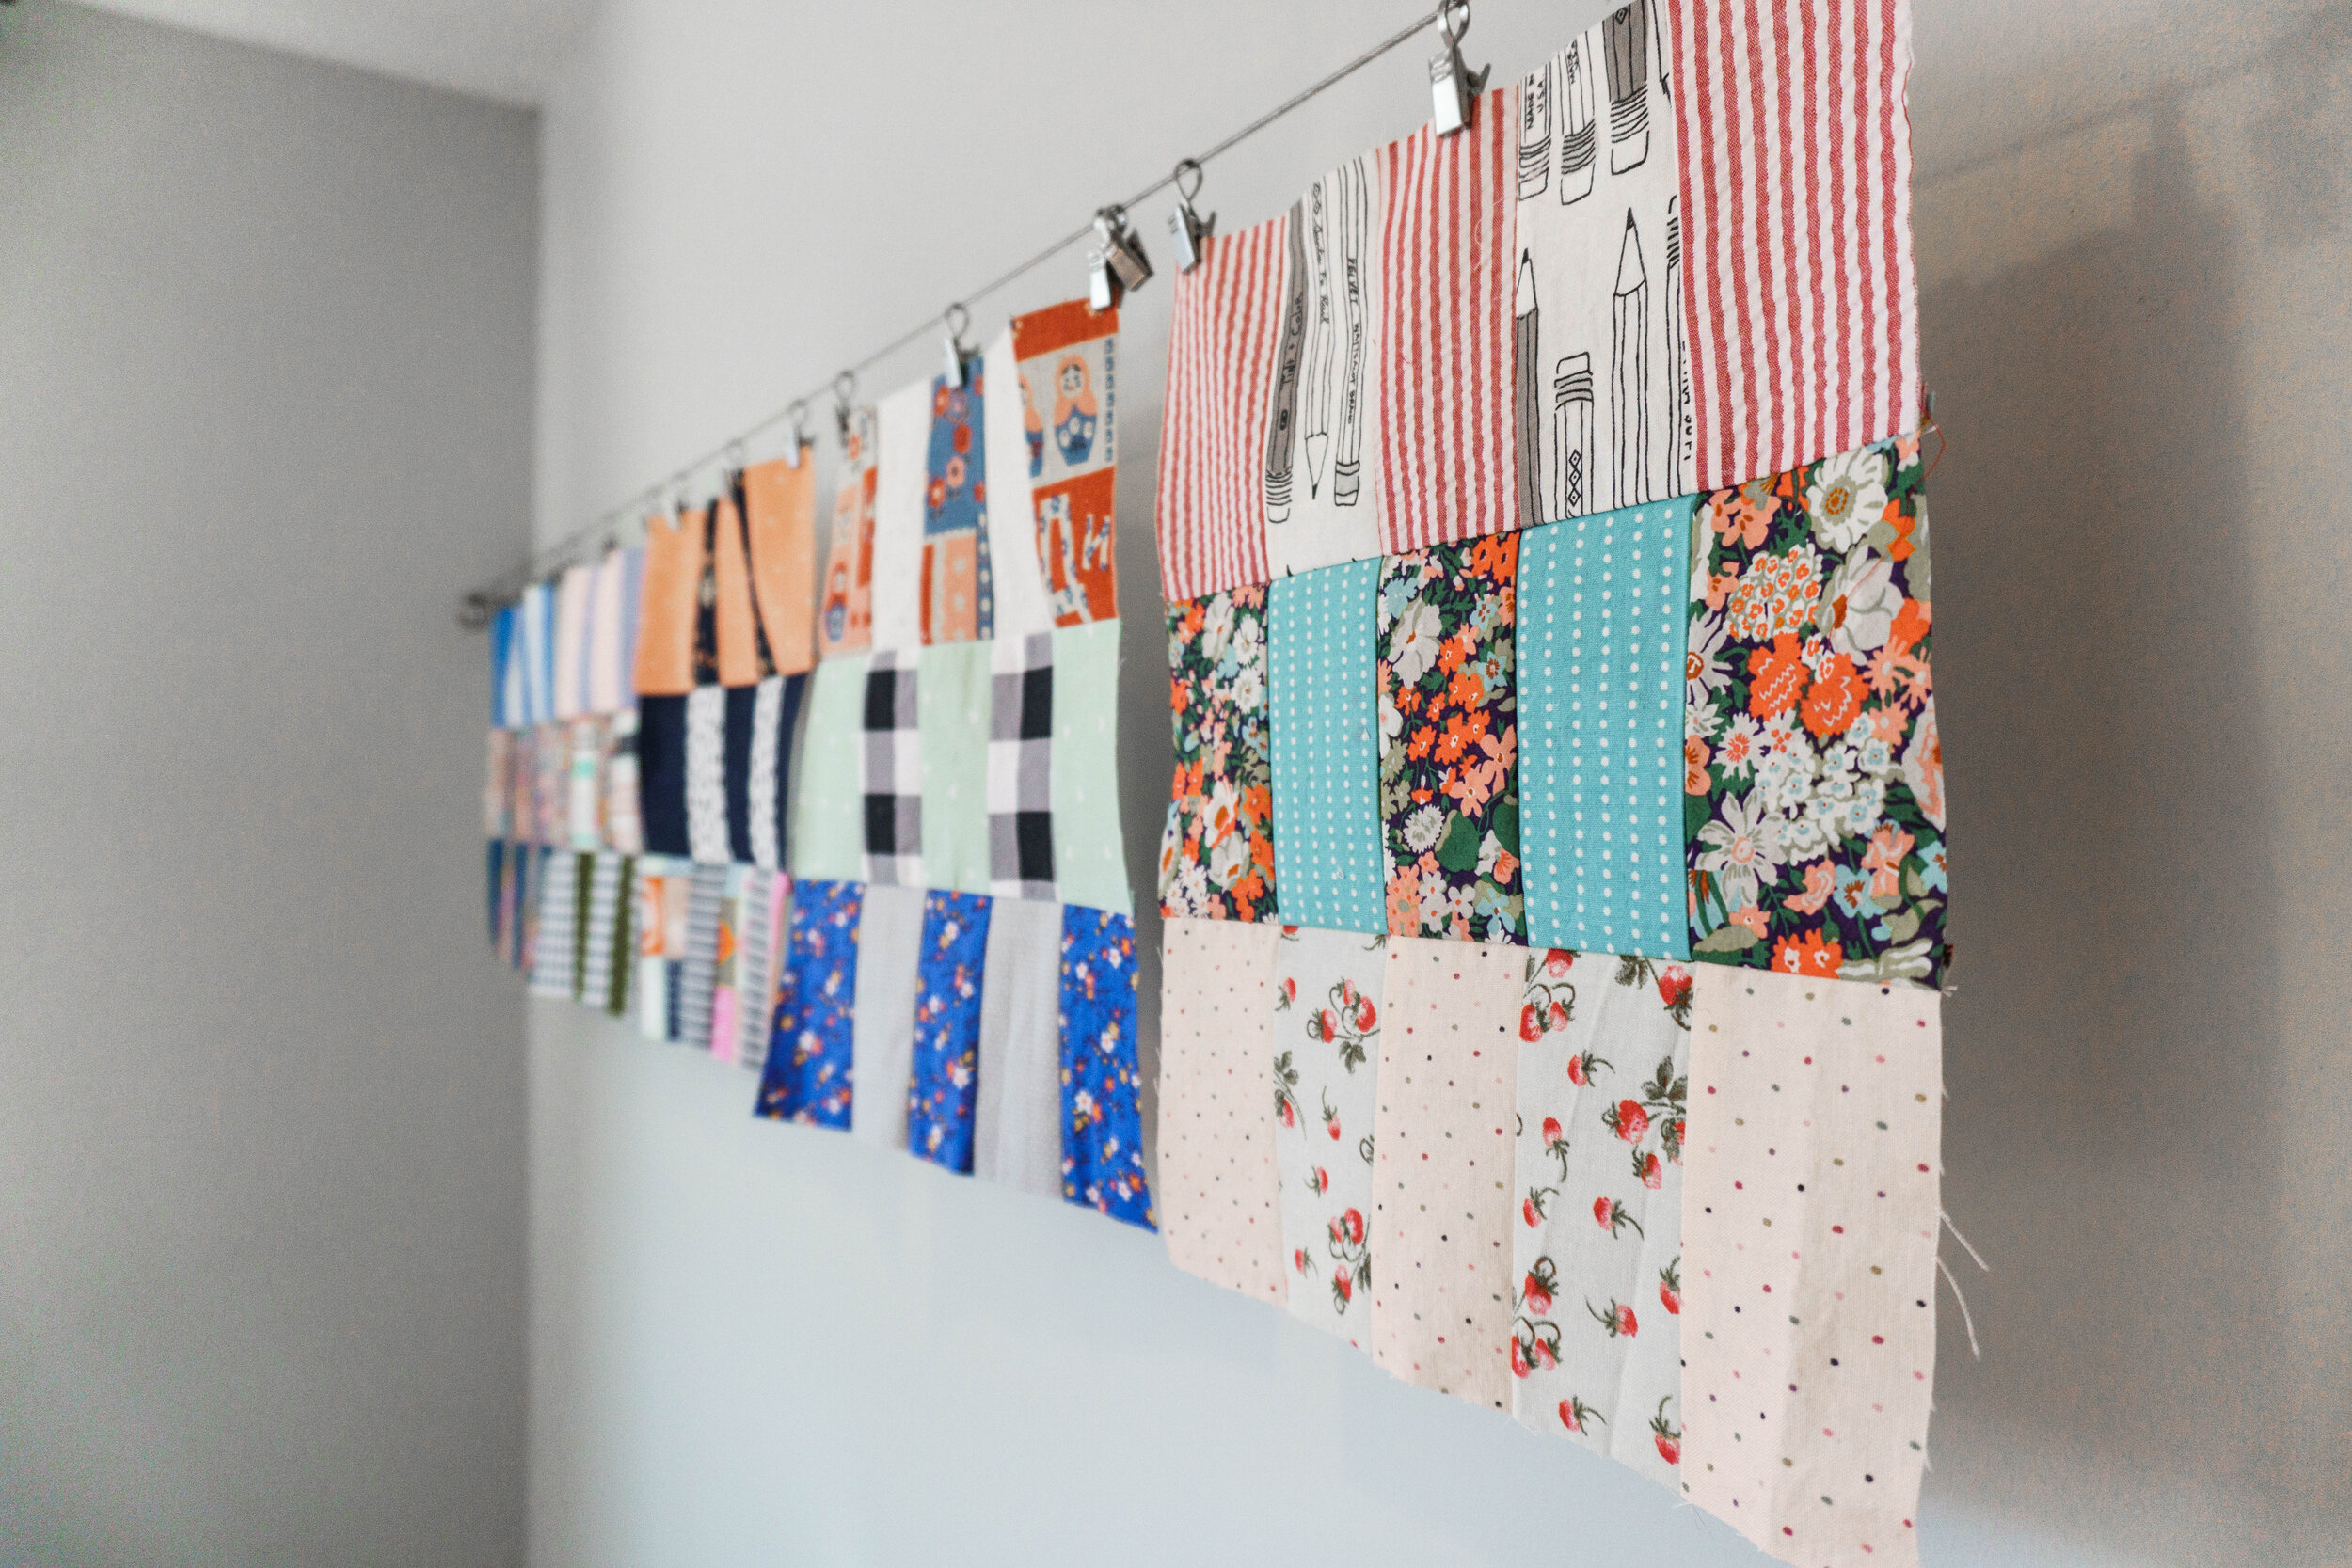
This block is rectangular, not square. Each one is made up of 15 smaller rectangles, with six fabrics in each block. The individual rectangles are cut to 2.5” x 4.5”. You may prefer to cut a ton of the little rectangles and then match up fabrics, but I like to make one block at a time, so I start by gathering six fabrics, a nice mixture of prints, solids, lights and darks.
Next, iron all your fabrics and start cutting. From three of those fabrics, you need three 2.5” x 4.5” rectangles and from the other three fabrics, you need two of each. I cut extras so I can create other blocks by mixing and matching them.
If you have never used a rotary cuter and ruler before, I created a video tutorial for you on exactly how to cut these pieces:
“What if I don’t have a rotary cutter set?”
That’s okay! If you don’t have a rotary cutter, you can cut your pieces out the old fashioned way by creating a 2.5” x 4.5” rectangle out of a cereal box, or other thin cardboard. Trace this one to the back of your fabrics with a pencil and cut them out while you binge watch something on Netflix, ha! You can order a rotary cutter set right here, though. It’s Prime, so it’ll be there before you’re finished, I’m sure!
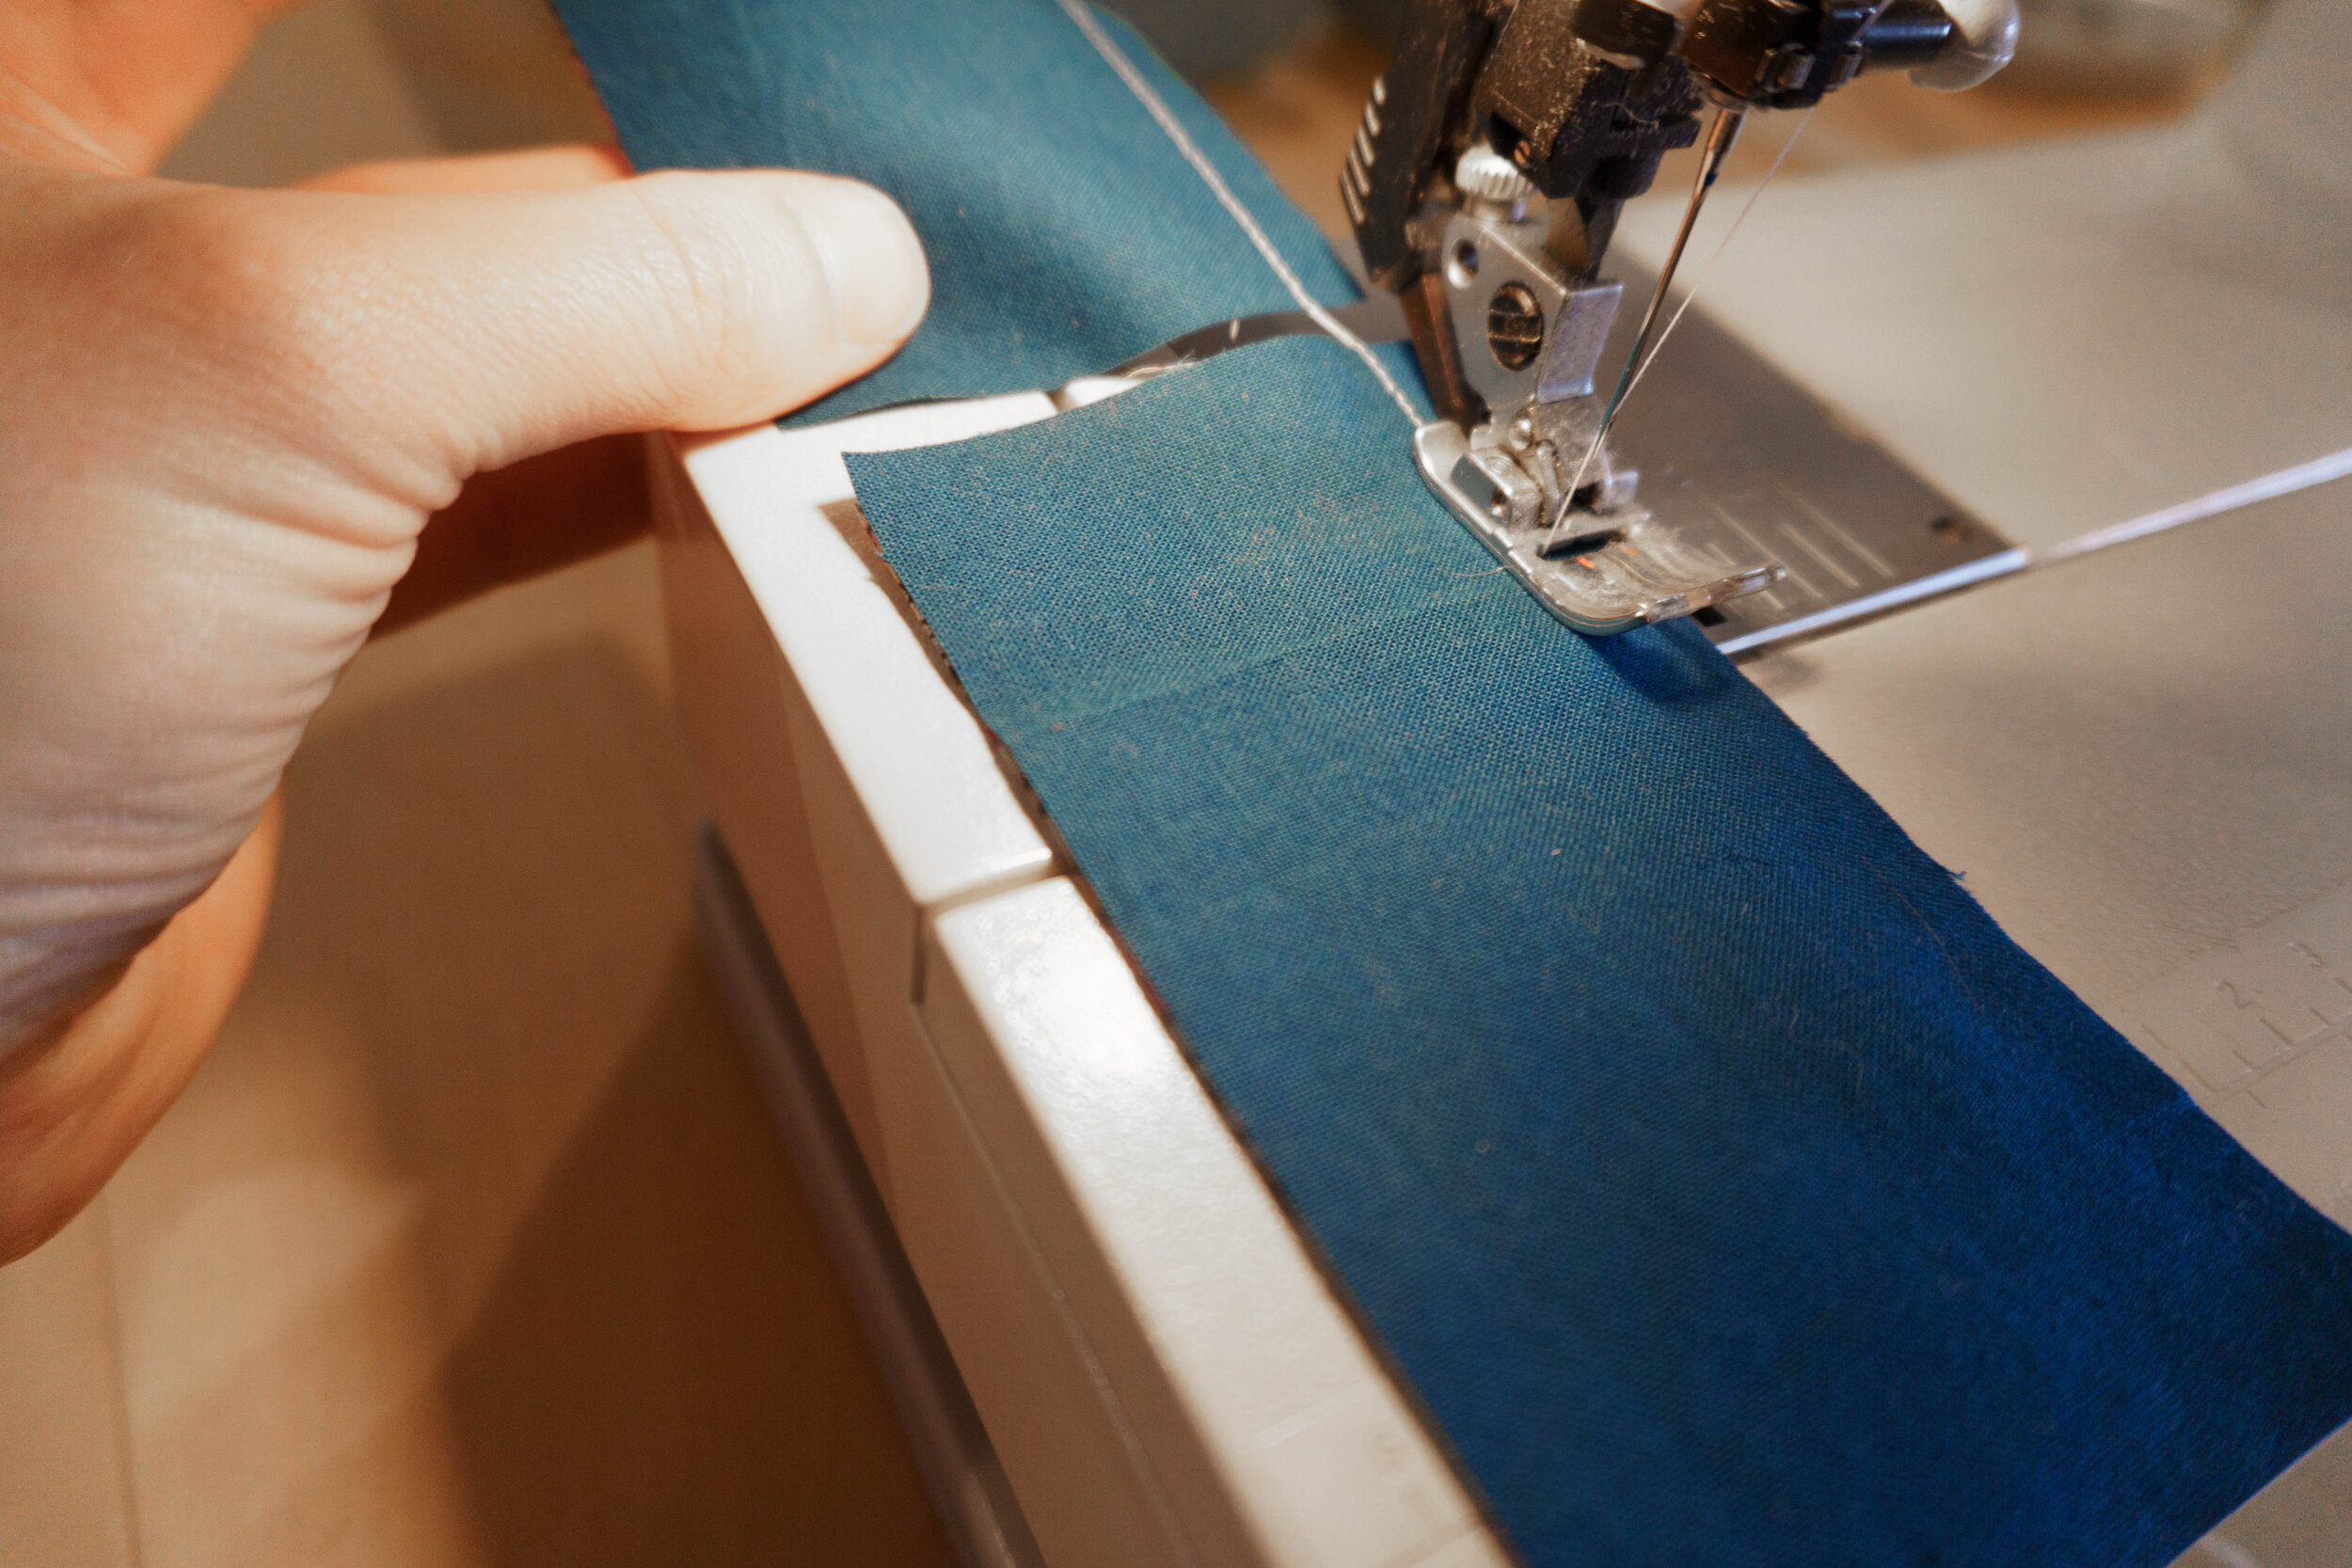
The next photo shows how the block gets laid out. Play with the contrast of your fabrics so that the lights are next to the darks and it looks pleasing to the eye. When you have it how you want it, stack each row and take it to the sewing machine. Start sewing it together by lining up two pieces, right sides together and sew using a careful 1/4” seam. Ifyou have trouble sewing a straight line, consider using a 1/4” foot. Your machine may have even come with one, but you can order one also. In quilting, a uniform seam allowance is very important.
To make the process of sewing the pieces together go a little faster, you can “chain piece” them. Instead of sewing one piece, removing and snipping the threads, just insert the next piece in right after it. If that’s confusing to you, let me know in the comments and I’ll create a short video tutorial for exactly how that works!
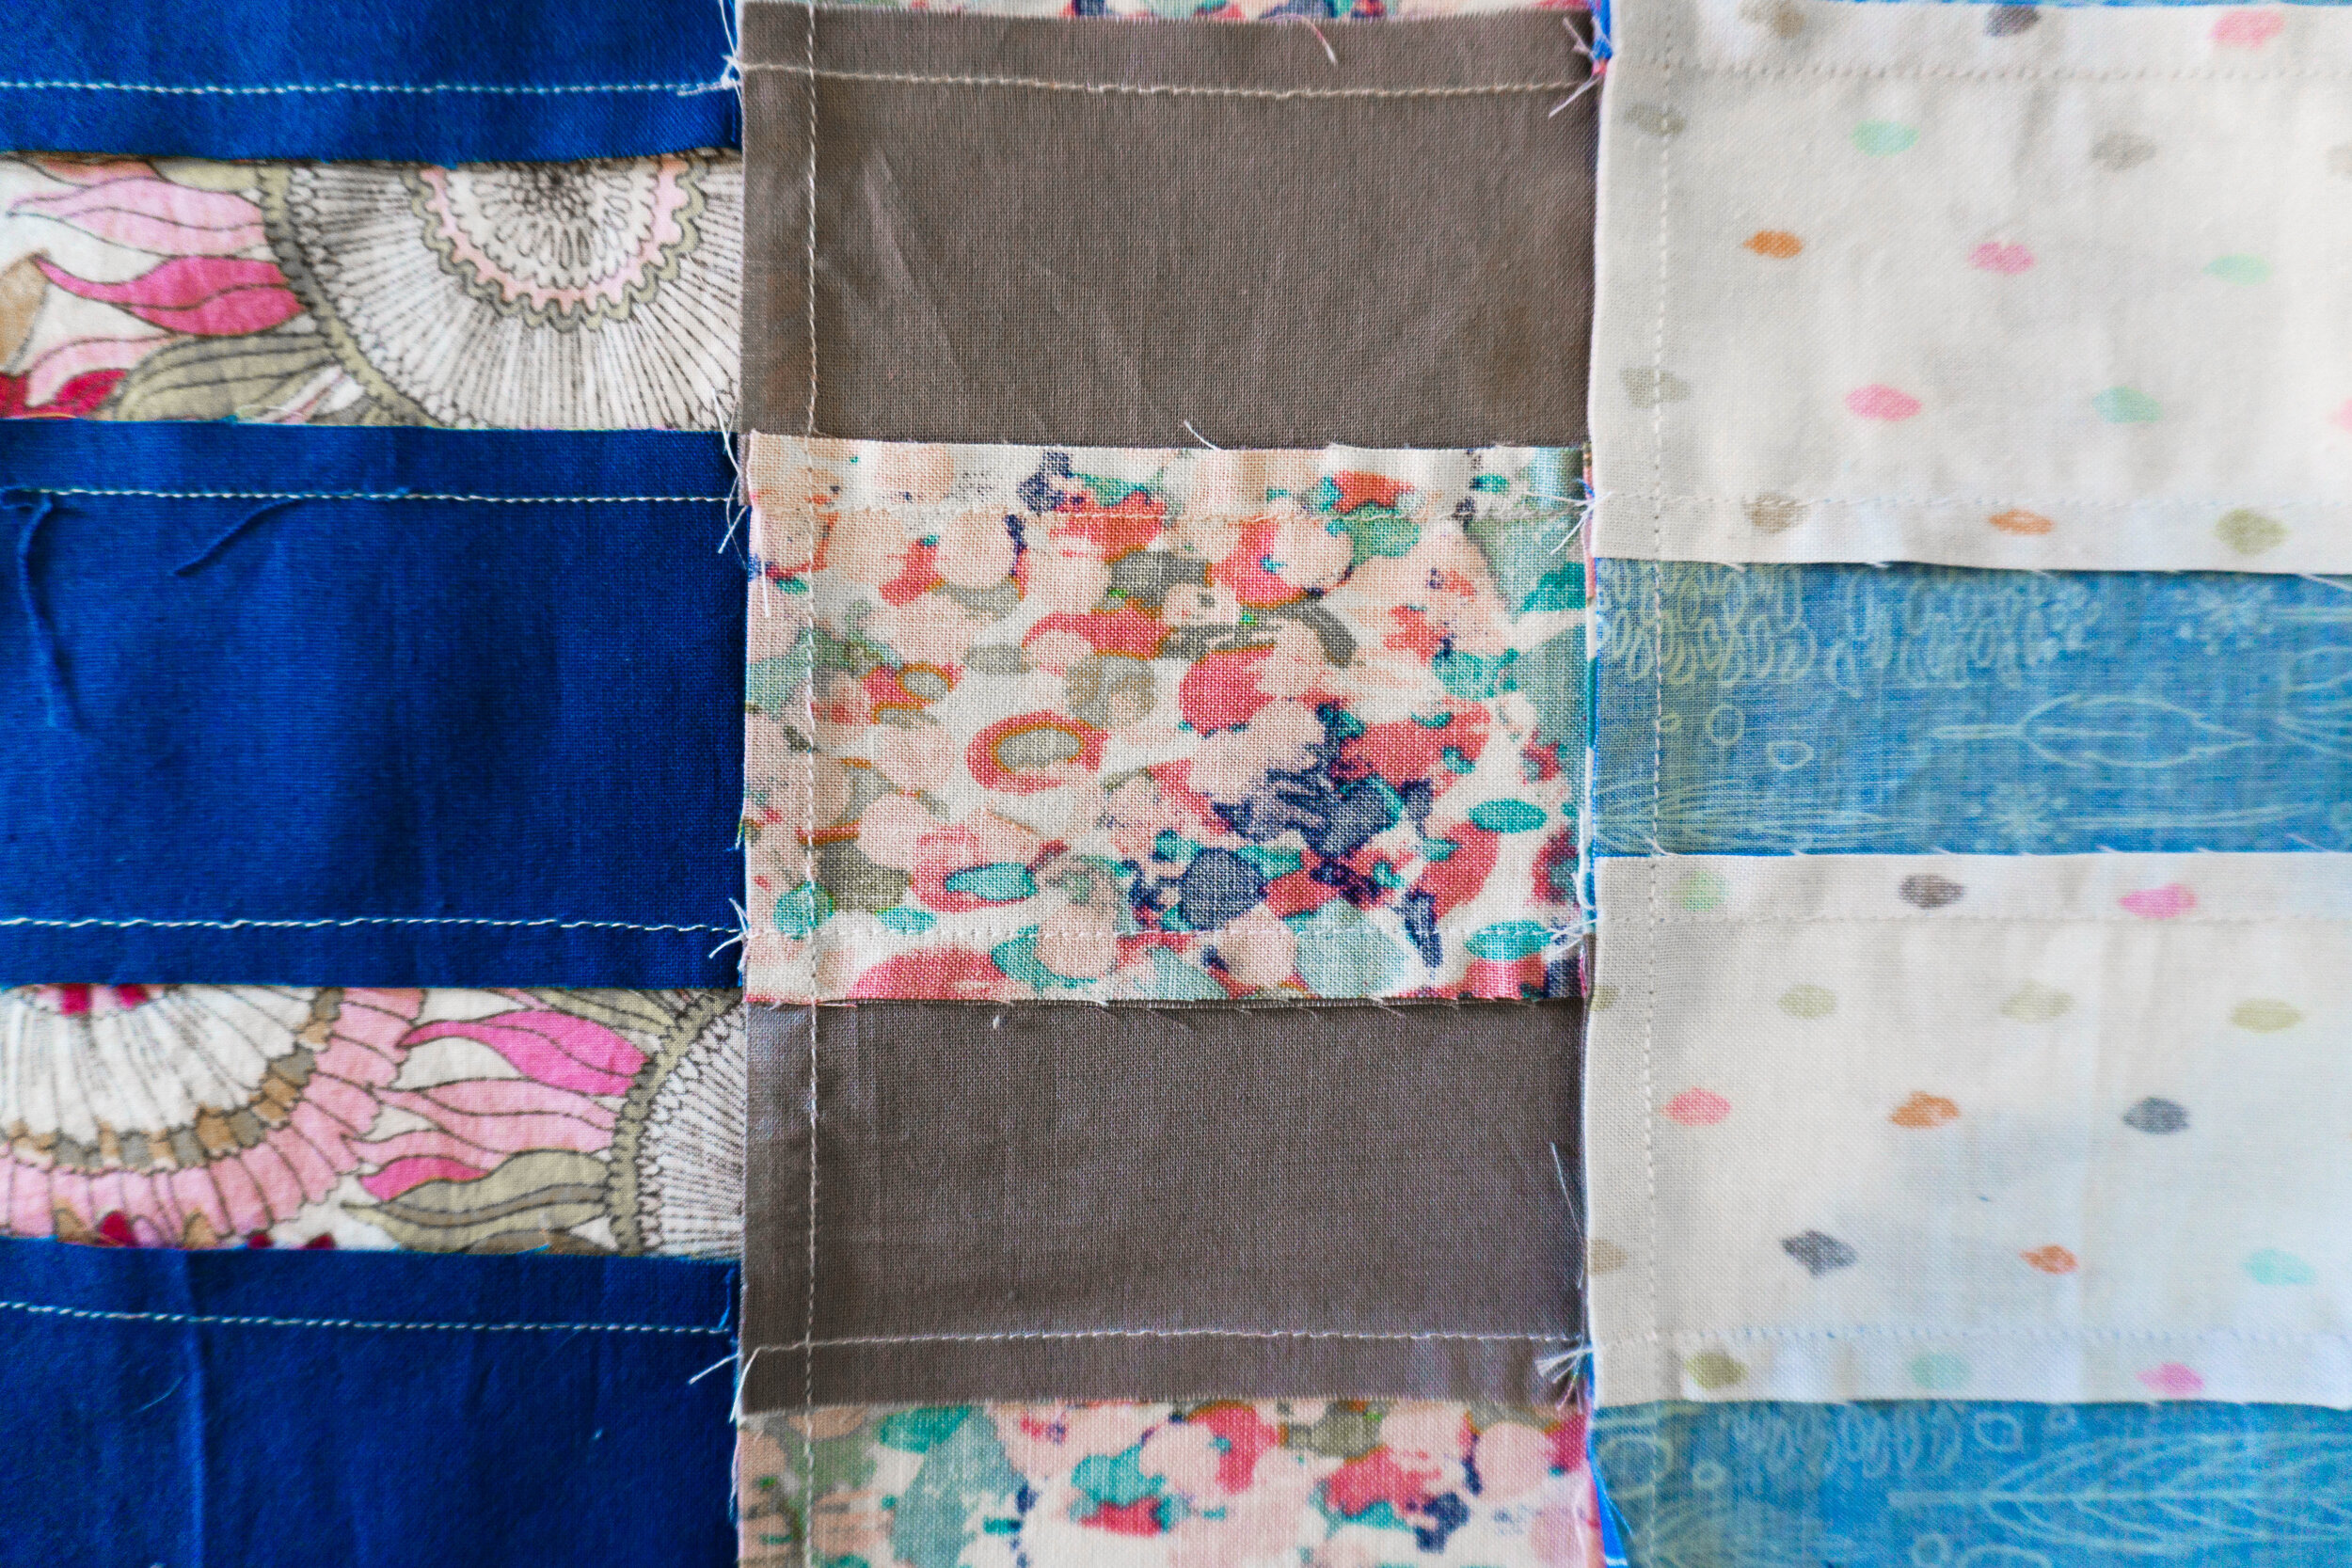
Start by sewing the three horizontal rows and then iron those seams to one side (either side, but usually toward the darker fabric). Then sew those three rows together in the order you intended, matching up the seams. Press those seams to one side also and you’re done! On to the next one.
I plan to make 25 of these blocks for a throw size quilt. For a baby quilt, I would make only 9, I think. They’re going pretty quickly for me, so it shouldn’t be too long before I put Part 2 together, which will be about assembling the quilt top.
If you have any questions at all, please leave them in the comments and I will answer them!
If you’re ready to move on, here are the rest of the posts in the series!
Here are the rest of the posts in the series!
Introduction
Part 1
Part 2
Part 3
Part 4
Cheers and happy quilting :)





Sew up the cutest frog dolls! New to the shop :)