DIY Pom Pom Acorn Garland
I have the cutest Fall craft to share with you today! We were out in nature with friends last week and there were so many acorns everywhere. The trees were very tall and one of us almost got beaned on the head by one, haha! We picked up some of the caps and I determined to make something fun out of them.
I’ve seen some cute acorn crafts out there with hand sewn, embroidered, or felted elements, but I wanted to keep it really simple and something I actually had time to finish in a few days, so I went with pom poms. It turned out so cute!! It’s really making me smile whenever I look at it.
Keep reading to see how I did it and for lessons in pom pom making (with a fork!)
This post may contain affiliate links, which means that while I am not paid to promote certain items, I will earn a small commission should you purchase items through these links. For more info, see my disclosure policy.
What you’ll need:
Acorn caps. If you don’t live somewhere you can obtain these out in nature, you can also buy acorn caps for crafting.
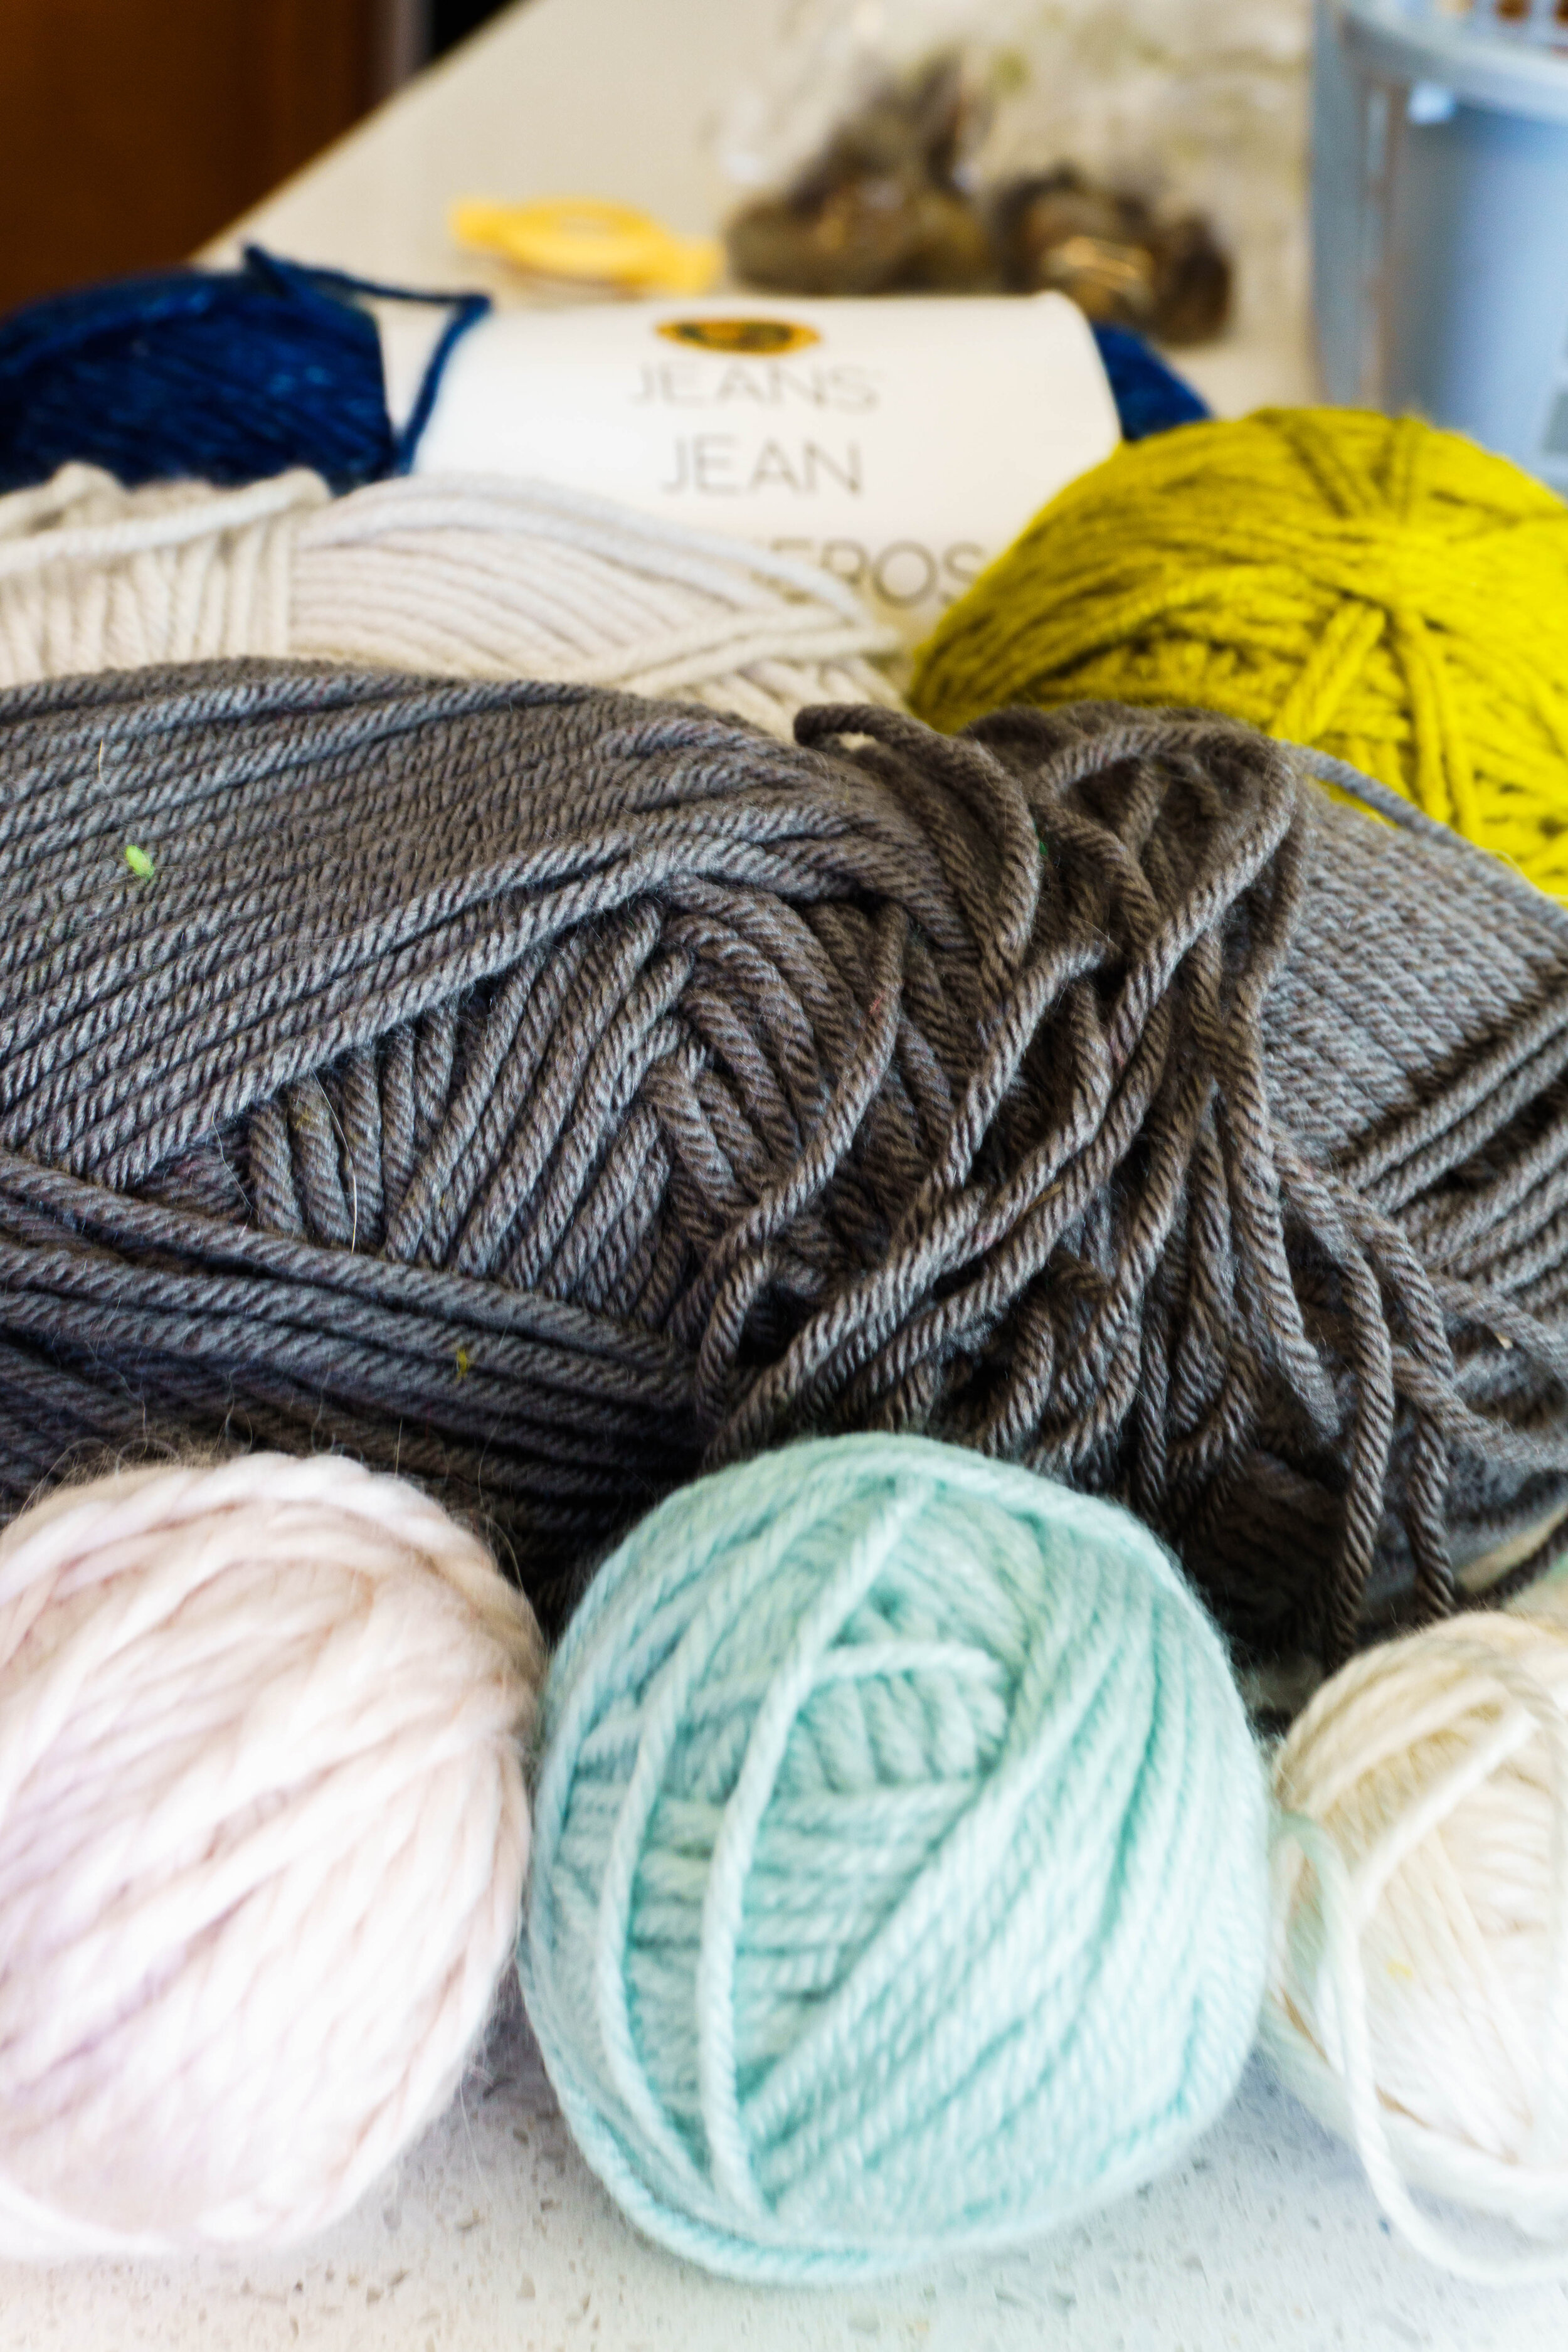
Yarn in various colors. I found chunky yarn didn’t work very well for these little pom poms, so stick with worsted weight.
A fork or pom pom makers. A smaller fork will make smaller pom poms. Or you can use the Clover pom pom maker, although if your caps are very small, they might bot be small enough.
A hot glue gun. Do yourself a favor and treat yourself to a good one, haha. No drips, two heat settings.
There are a few different ways to make pom poms. I couldn’t find my tiniest pom pom maker (though I did find it just after I’d finished, of course!) so I went with the fork method. I actually find it easier anyway. Here’s a quick how to:
First, place about a 12” length of yarn between the center tines of your fork. This will tie the pom pom together later.
Second, start wrapping yarn around your fork. Wrap it a bunch of times, it should be quite full. Like 50 times.
Third, use the piece of yard that’s hanging out between the fork tines to tie the bunch together. Tie it in a double knot and as tight as you can get it!
Fourth, slide it off the fork. It should like like a bow tie.
Fifth, use sharp scissors to snip the loops open.
Sixth, give your pom pom a serious hair cut until it’s nice and round.
You’ll need to trim the pom pom up quite a bit to get a nice small, round shape that fits your acorn cap. It always takes more trimming than I think it will, so don’t be nervous that you’ll cut too much and just go for it.
You can sort of see here how much I cut off. It’s not perfect yet in this photo, but I trimmed the pom poms a little bit more once I attached them to the acorn caps.
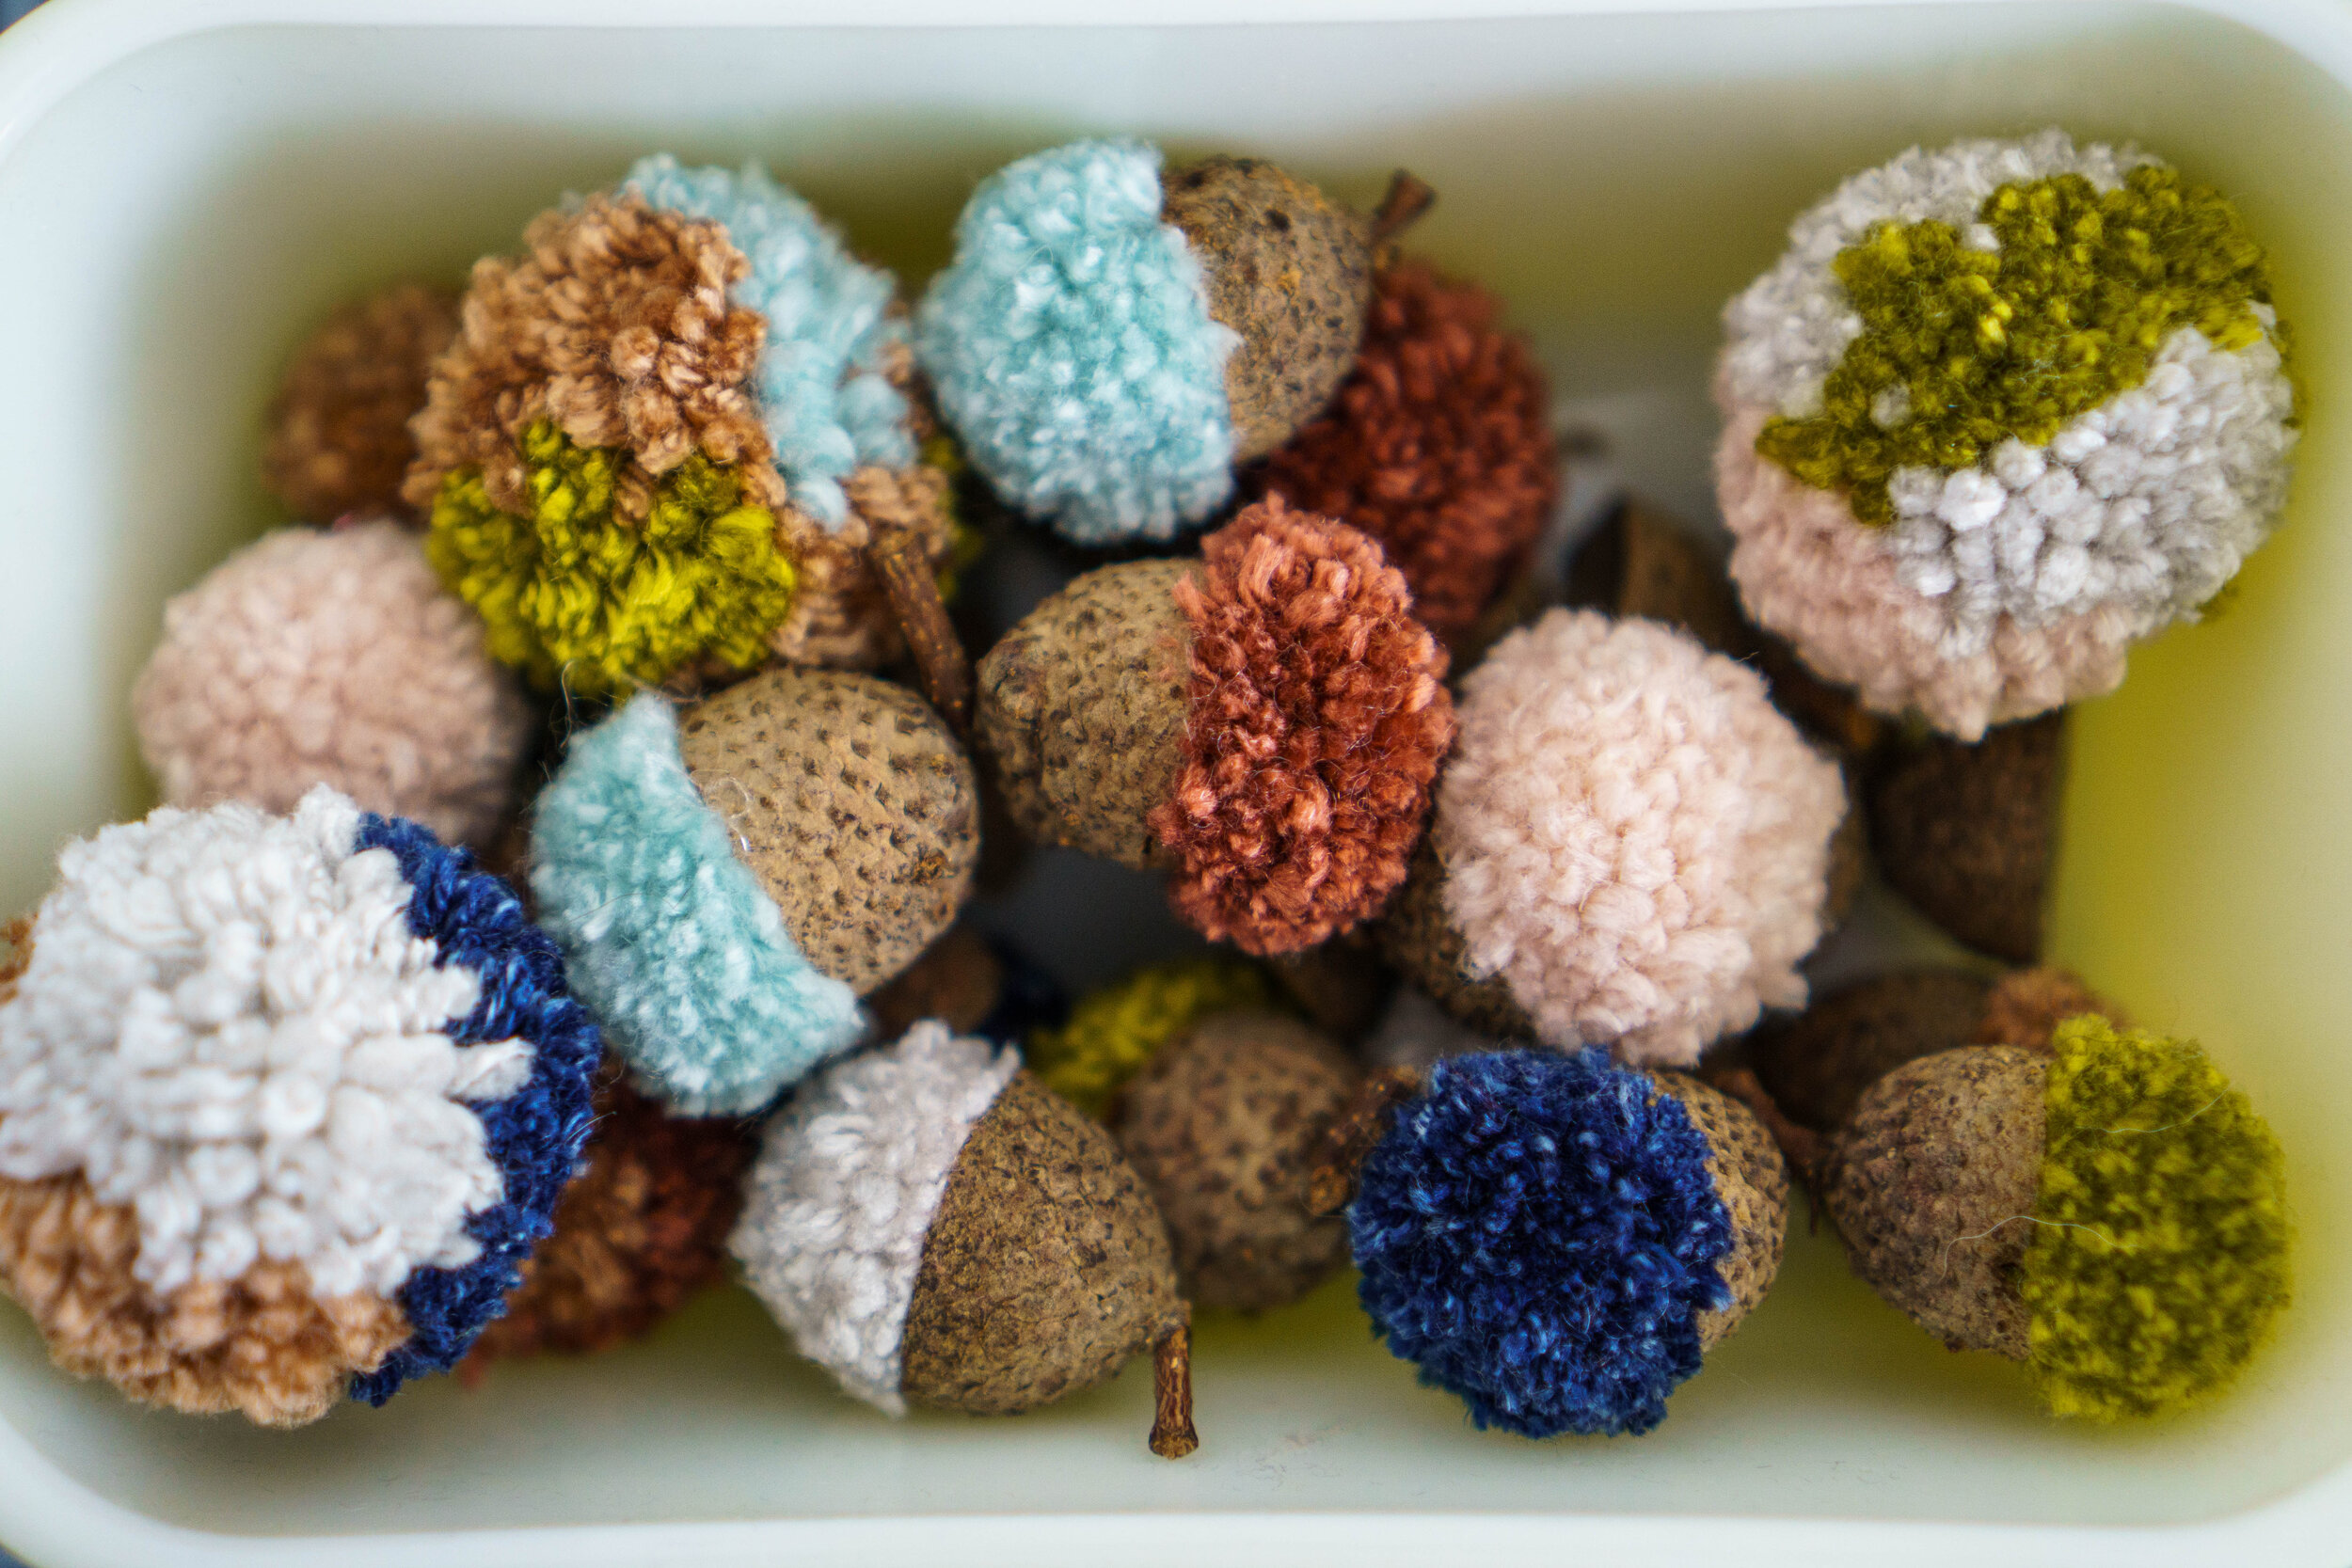
Once you get it trimmed up, just hot glue it onto the acorn cap! Then trim it up some more if you need to.
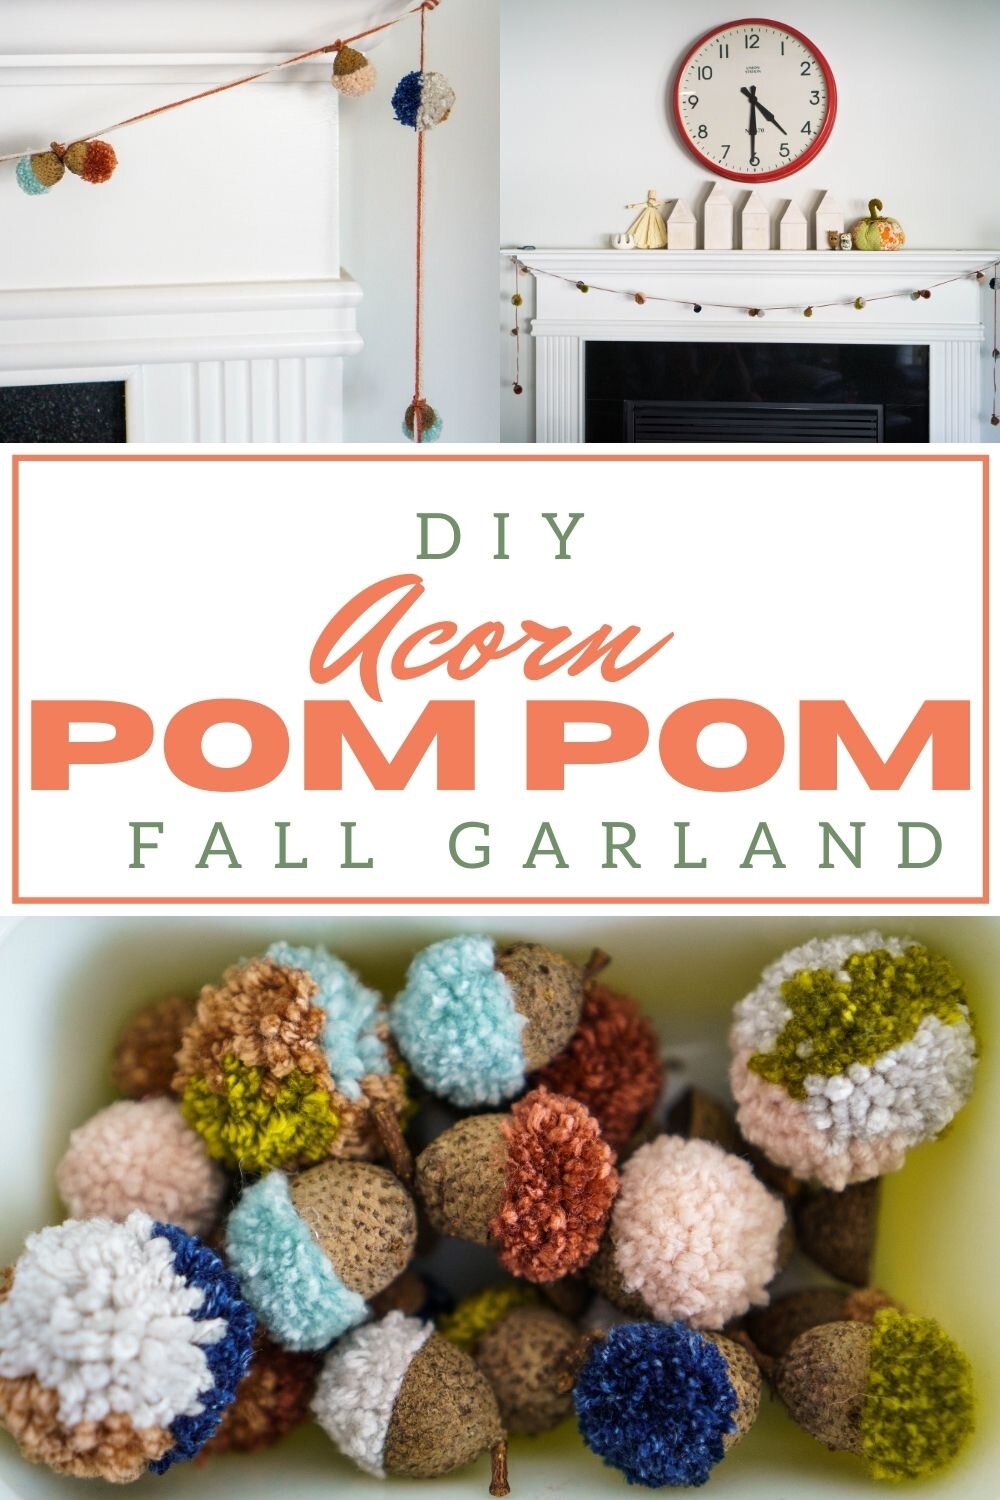
For my garland, I made 8 single acorns, plus three double acorns that we found attached to each other. So cute! I then used the second largest pom pom maker to make four tricolored pom poms to add to my garland.
The Clover pom pom maker set is one of those things I purchased for some project or other and then ended up using way more often than I imagined I would when I bought it. My kids love it too, they’ve made some cute things out of pom poms. It’s not expensive so I definitely recommend it as something to have on hand if you’re a crafter.
Now, to make the garland! Of course, fire place mantle sizes vary, but mine is pretty standard for newer homes and I made my garland about 100” long. Instead of using one strand of yarn to string my objects together, I doubled it up and chose two colors just to add more interest.
I used both my cutting mat and a measuring tape to spread my acorns and pom poms out across the the entire length of the garland.
To put it together, I started in the center. I first threaded the right end of the yarn onto a yarn needle. I tied the acorns onto the garland by the stem with matching yarn (trimming the ends very close) and when I got to a pom pom, I used the needle to thread it on, just putting the needle right through the center of it. Once I had the right side done, I did the left side. I tied off and trimmed the yarn at both ends. To finish it off, I placed a dot of hot glue on the knots for each acorn, just for extra security.
My husband provided me with some tiny white hooks, the screw in kind, which I installed under my mantle, drilling a pilot hole first. I’m glad the hooks are there because I fully intend to make more seasonal garlands, but they’ll be easy to take out when we sell the house.
I really enjoyed this little craft project! It was good for the spirits to make something so cute and uncomplicated. What is your favorite way to decorate your mantle for Fall??


Sew up the cutest frog dolls! New to the shop :)